How to Create a Waitlist on Google Forms: A Step-by-Step Guide

Olivier Rousseau
30 November 2024 2 min read

Google Forms is an easy, free tool that can help you create an effective waitlist. In this detailed guide, we’ll take you step-by-step through creating and managing a waitlist, addressing common challenges and providing an easier alternative for growth-oriented organizations.


Why Use a Waitlist?

A waitlist isn’t just a backup plan-it’s a strategic tool that can improve your class management and increase your revenue by making sure no spot ends up empty. Here’s how:

  • Maximized Enrollment: Keep your programs full by quickly replacing cancellations with participants from your waitlist.
  • Improved Planning: Understand demand trends to adjust class sizes, schedules, or offerings.
  • Automated Communication: Easily notify waitlisted participants when a spot becomes available.
  • Better Customer Experience: Show families you value their interest and provide a simple way to join popular programs when a spot opens up.

Step 1: Create a Google Form for Your Waitlist

Go to Google Forms and create a blank form.
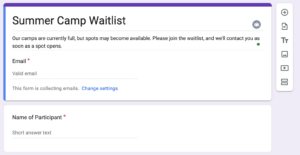
Key Tips for Setup:

  • Form Title: Use a clear and specific title, such as “Summer Gymnastics Camp Waitlist” or “After-School Dance Classes Waitlist.”
  • Form Description: Add a brief description explaining why participants should fill out the form. For example:“Our classes are currently full, but spots may become available. Please join the waitlist, and we’ll contact you as soon as a spot opens.”

Create a Google Form for Your Waitlist

Step 2: Add Basic Information Fields

You’ll want to collect the essential information that will allow you to identify and contact waitlisted participants.
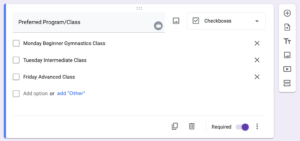
Recommended Fields:

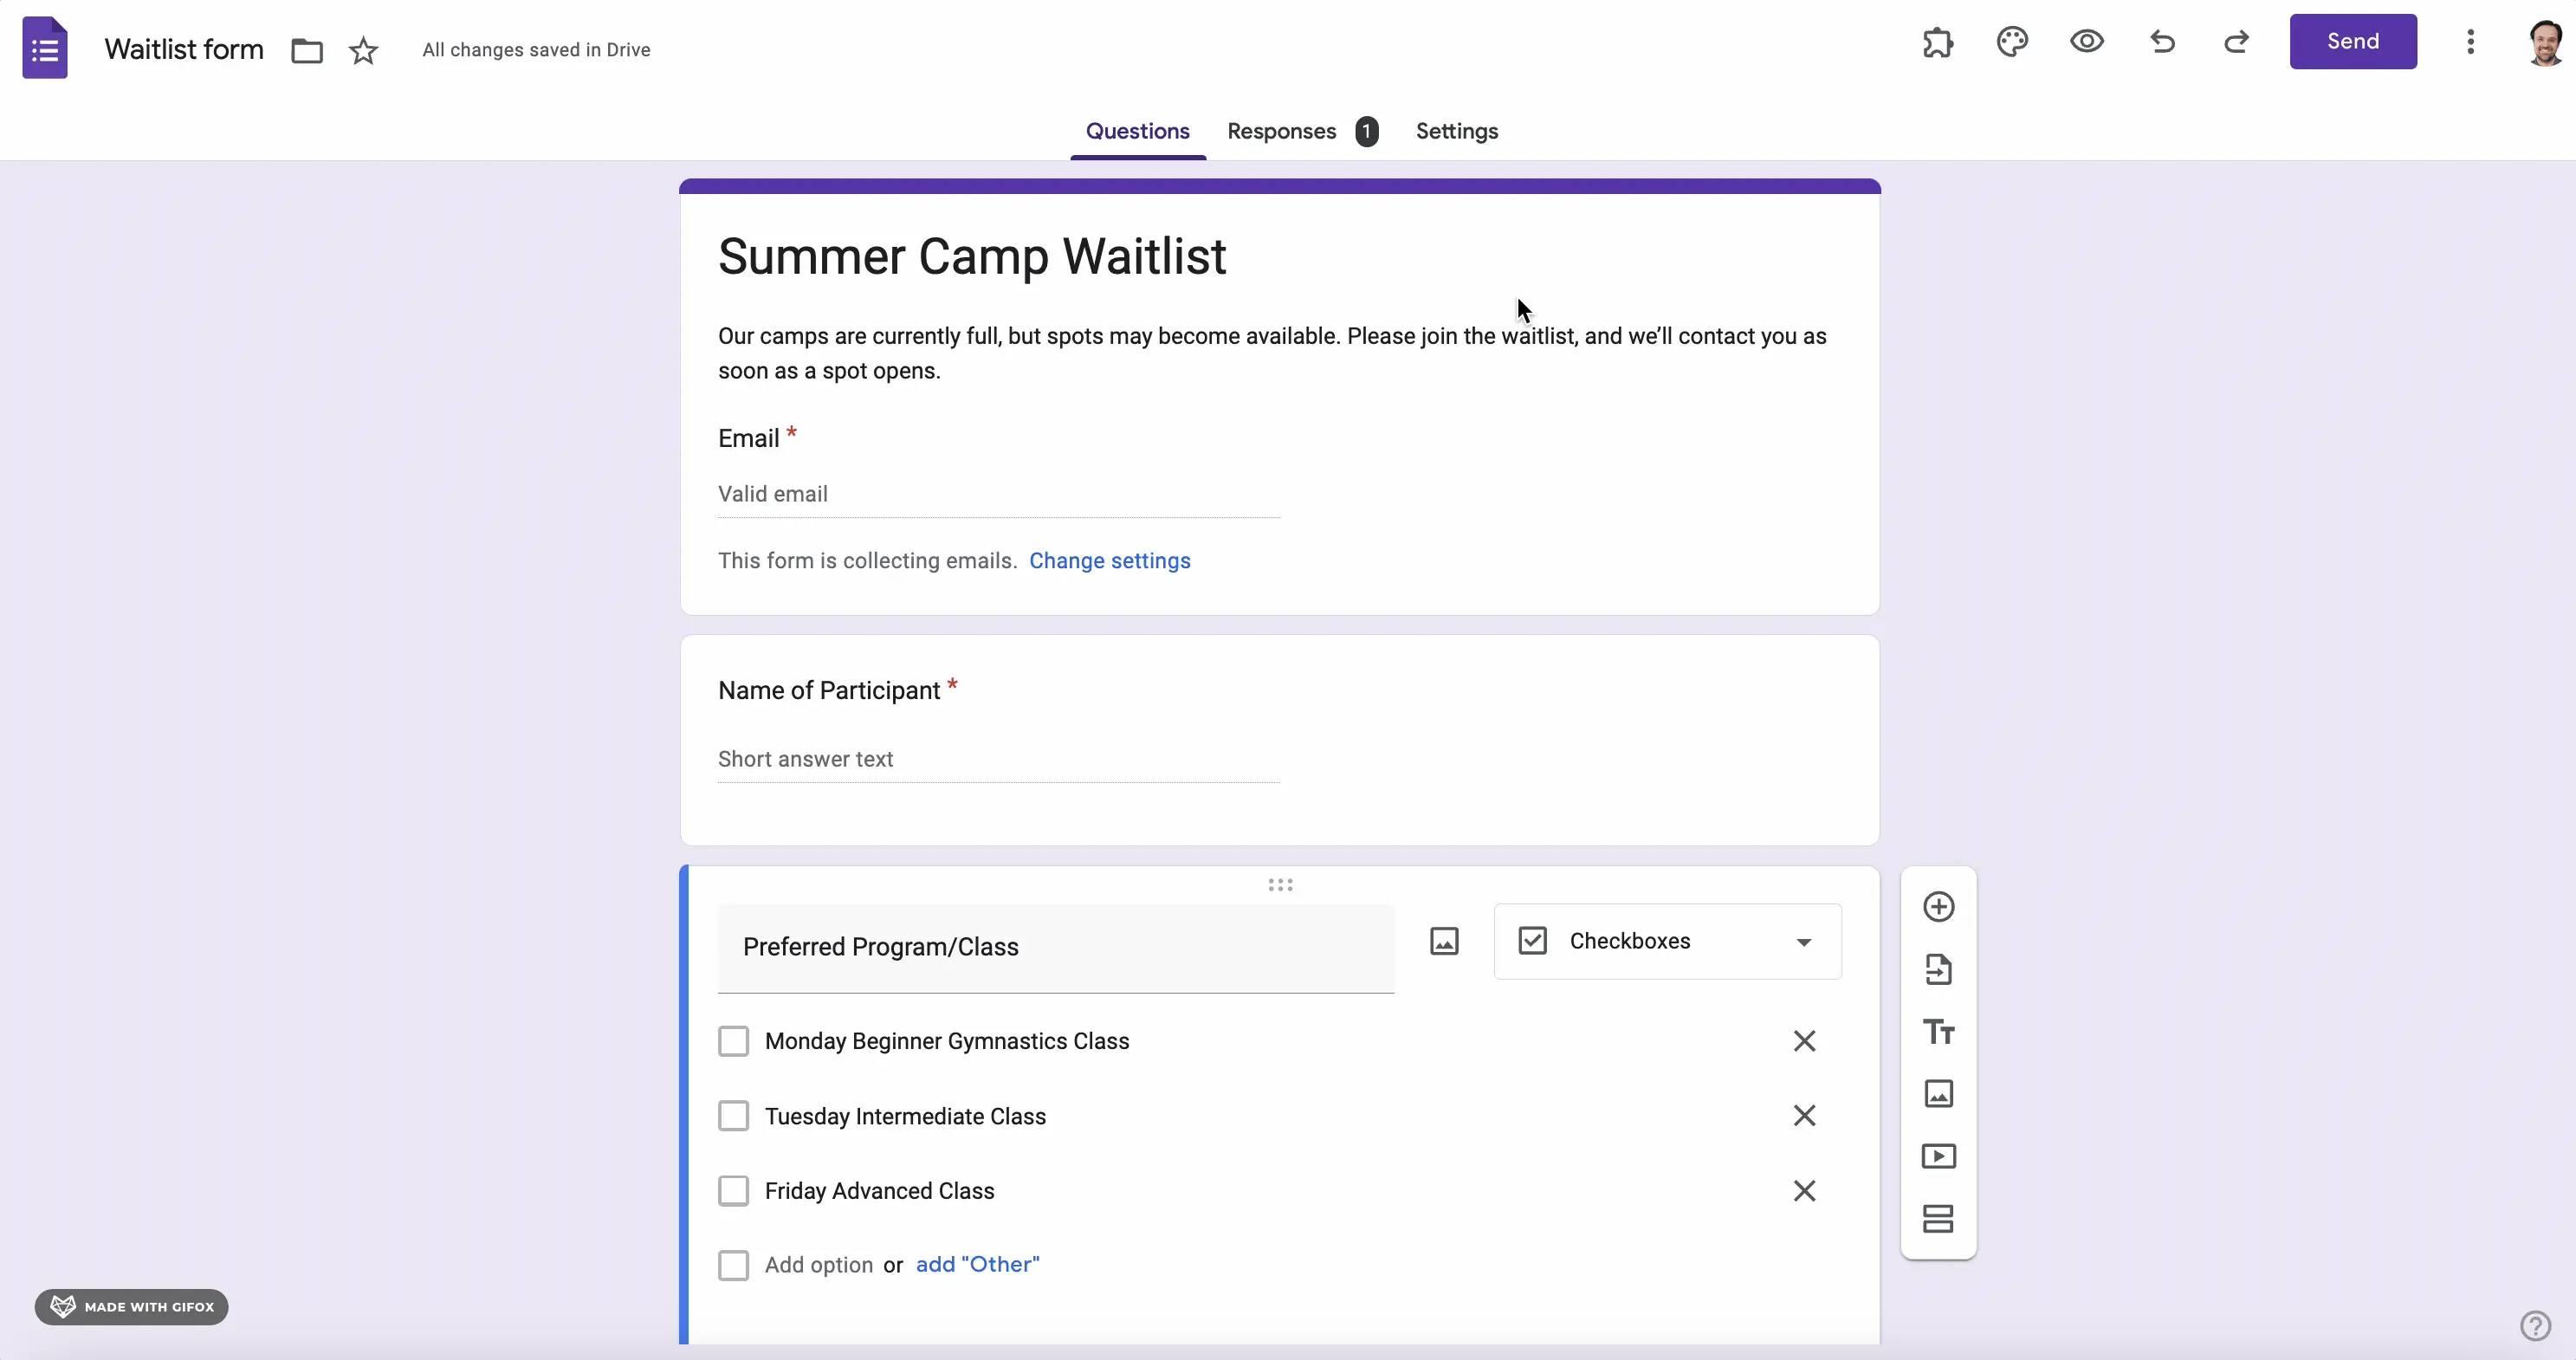
  1. Name: Use the short answer question type to collect first and last names.
  2. Email Address: Select the email format to ensure data is captured correctly.
  3. Phone Number: Add a short answer field specifically for mobile numbers.
  4. Preferred Program/Class: Use a dropdown or multiple-choice question type to list available options.
    • Monday Beginner Gymnastics Class
    • Tuesday Intermediate Class
    • Friday Advanced Class

Add Basic Information Fields

Why It’s Important:

This information is necessary to effectively manage your waitlist. By ensuring that each response includes complete contact information, you can save time when reaching out to attendees.

Step 3: Customize Questions for Prioritization

Add custom questions to capture additional information if your programs have specific requirements or you want to prioritize certain attendees.

Examples of Prioritization Questions:

  1. Participant Age: Helps ensure they fit the program requirements. Use a short answer or dropdown for age brackets (e.g., 3–5, 6–8, 9+ years).
  2. Skill Level: Particularly helpful for sports or arts programs.
    • Beginner
    • Intermediate
    • Advanced
  3. Availability: Add a checkbox question allowing participants to select multiple days or times that work for them.
    • Monday Morning
    • Wednesday Afternoon
    • Saturday Evening

Step 4: Enable Notifications

One of the easiest ways to stay on top of new waitlist entries is to enable email notifications for form submissions. This will ensure that you don’t miss any opportunities to engage potential participants.
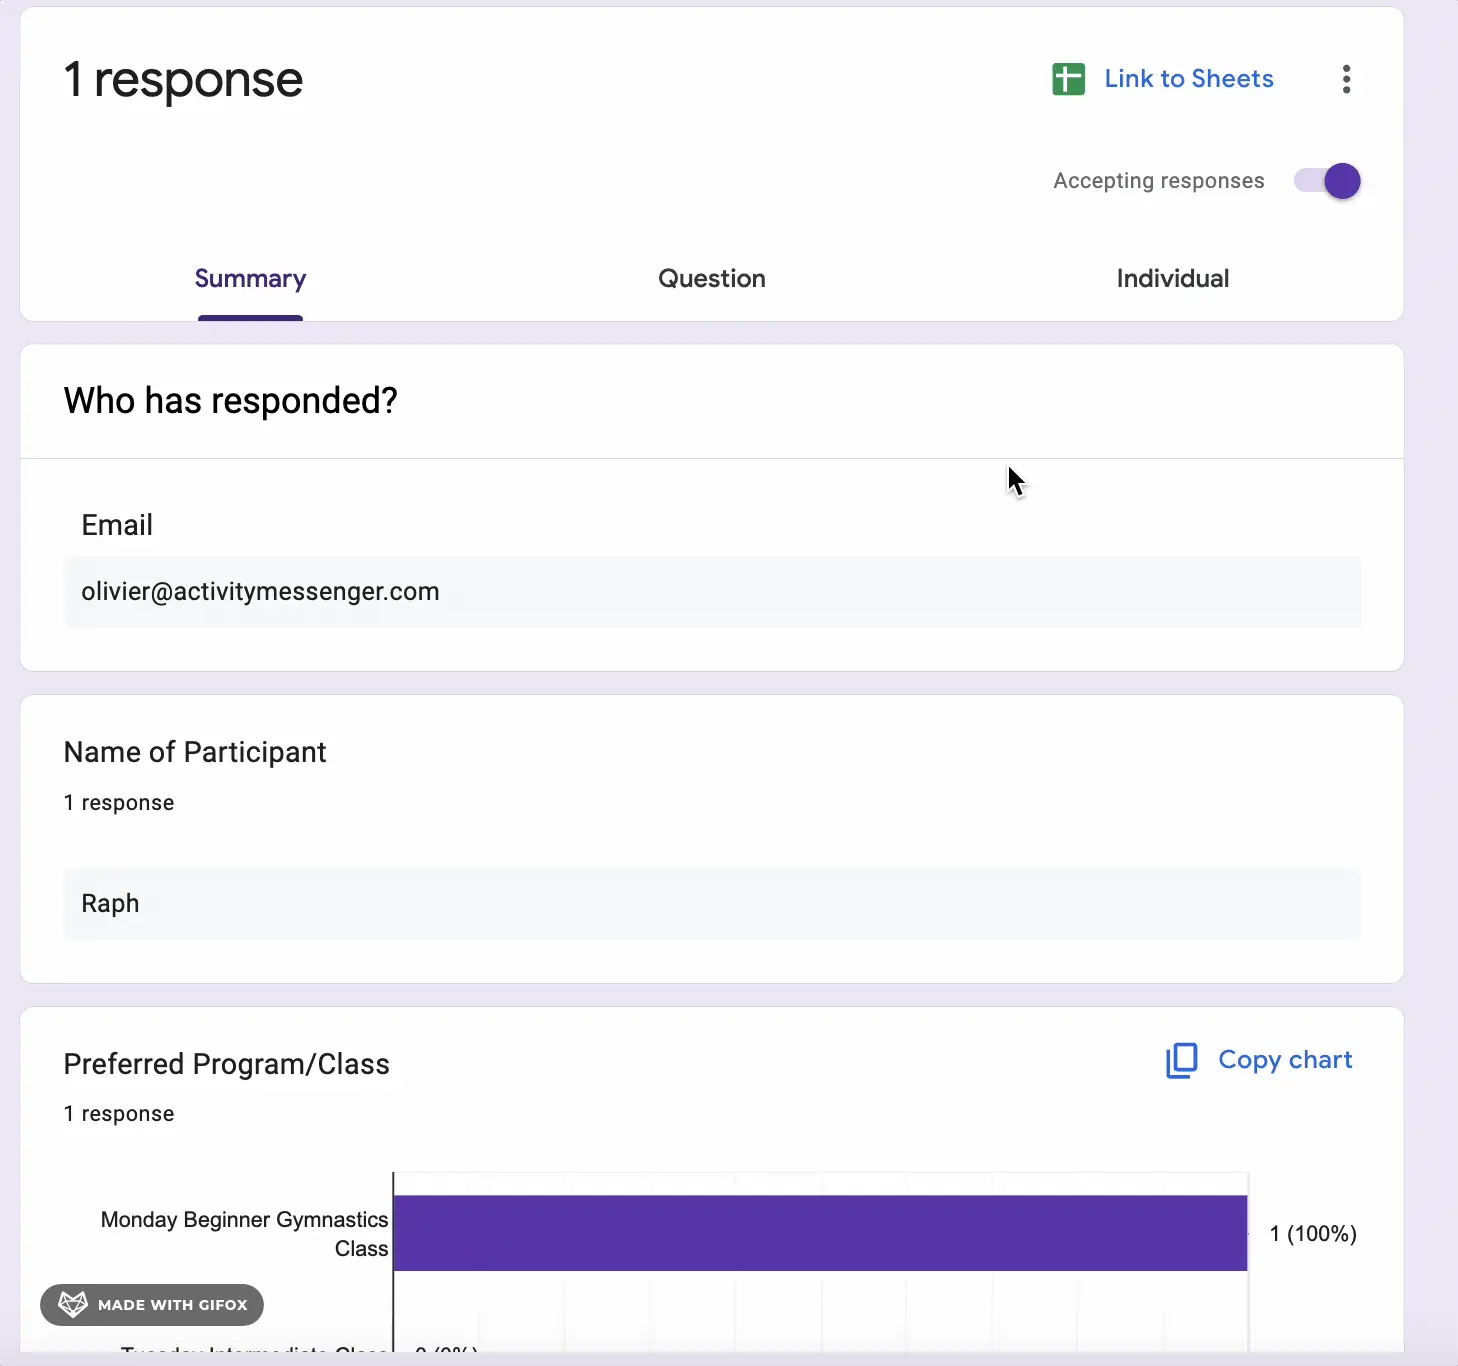
How to Set It Up:

  1. Open the “Responses” tab in your Google Form.
  2. Click the three-dot menu (top right).
  3. Select “Get email notifications for new responses.”


📌 Pro Tip: If you’re managing a high volume of responses, consider connecting your form to Google Sheets. This will help you organize and filter data more efficiently.

Step 5: Share Your Waitlist Form

Once your form is ready, it’s time to get it in front of your community as soon as your classes fill out..

Ways to Share:

  1. Direct Link: Copy the link to the form and email it to interested families.
  2. Embed on Your Website: Integrate the form into your website using the embed code.
  3. Social Media: Share the link on platforms like Facebook, Instagram, or Twitter. Use a call-to-action like:

    “Our fall dance classes are almost full! Join the waitlist now to secure your spot: [link].”
Share Your Waitlist Form

Step 6: Manage Your Responses

Google Forms stores responses in the “Responses” tab, where you can view, sort, and analyze participant data. For better organization, export the responses to Google Sheets.

Tips for Effective Management:

  • Create Filters: Use filters in Google Sheets to sort participants by criteria like preferred class or registration date.
  • Color Code Entries: Highlight top-priority participants in different colors based on their fit for your programs.
  • Update Regularly: As you fill spots, update your sheet to avoid confusion or duplicate contact efforts.

Manage Your Responses

Step 7: Communicate with Participants

The final and most important step is to engage with your waitlisted participants.

Communication Strategies:

  1. Spot Availability: Send personalized emails or SMS messages to notify participants when a spot opens.
  2. Group Messaging: If multiple spots are available, send bulk communications to the top 10 waitlisted participants with a first-come, first-served offer.
  3. Confirmation: Once a participant secures a spot, confirm their enrollment via email or phone.

Simplify Your Waitlist with Activity Messenger

While Google Forms provides a good foundation, managing waitlists manually can be time-consuming and error-prone. Activity Messenger is designed to streamline this process, helping you save time and improve efficiency.

Key Features of Activity Messenger:

  1. Automated Notifications: Instantly notify waitlisted participants via SMS or email when a spot opens up.
  2. Custom Prioritization Rules: Sort your waitlist based on criteria like registration time or program preferences.
  3. Integrated Payments: Secure spots instantly by allowing participants to pay online as soon as they’re offered a spot.
  4. Centralized Dashboard: Manage multiple waitlists for various programs in one easy-to-use platform.
  5. Post-Event Automation: Follow up with participants using surveys or marketing emails for future programs.

Why Activity Messenger?

Activity Messenger offers a comprehensive waitlist automation system tailored specifically to the needs of camps, swim schools, and gymnastics clubs.
Learn more about how it works by reading our article on Waitlist Automation.

Comparing Google Forms and Activity Messenger for managing waitlists


Feature Google Forms Activity Messenger
Ease of Use Simple interface, but requires manual setup User-friendly with templates for waitlists
Custom Branding Limited customization options Fully customizable with your logo and branding
Automated Notifications No built-in notification system  Automate SMS and email when a sport opens up
Data Management Basic spreadsheet view with Google Sheets Advanced tools for filtering, exporting, and sorting waitlist data
Dynamic Fields Supports basic conditional logic Supports conditional logic and dynamic fields
Cost for Advanced Features Free, but limited without external add-ons Affordable plans for integrated features


Conclusion

Creating a waitlist with Google Forms is a great way to manage demand and collect interested participants even when classes are full. But as your organization grows, manual systems can limit your potential. Activity Messenger allows you to scale your waitlist with automations, integrated payments, and powerful prioritization tools.

Book a demo with an Activity Messenger expert.

Written by Olivier Rousseau Olivier is a kids sports programs owner who has been operating for over a decade with locations in Montreal, Quebec city & Ottawa. He also helps Gymnastics Club, Swim Schools and Dance Studios streamline their operations. He is the co-founder of Activity Messenger an online registration platform for the sports & leisure industry.

Create a waitlist for your classes today

Subscribe for exclusive content

Receive News and Updates about our product

© Activity Messenger

info@activitymessenger.com