Google Forms is a free online tool that makes it easy to create custom registration forms. In this step-by-step guide, we’ll show you how to create a registration form using Google Forms.
- Go to Google Forms
- Start a New Form
- Title and Description
- Add Questions
- Customize Your Registration Form
- Adjust Settings
- Design Your Form
- Preview Your Form
- Share Your Registration Form
- Collect and Manage Registrations
Author’s note: Olivier is the co-founder of Activity Messenger & shares tips and tricks that have helped hundreds of dance studios, gymnastics clubs, swim schools, Soccer Academies and camps design mobile friendly registration forms that streamline operations and increase revenue.
Step 1: Go to Google Forms
- Go to Google Forms: Open your web browser and go to Google Forms
- Sign In: Use your Google account credentials. If you don’t already have an account, create one. A Google Account gives you access not only to Forms, but also to Google Drive, where your form and responses are stored securely.
Read more: Why google forms might not be ideal for a growing business
Step 2: Start a New Form
- Create a Blank Form:
- Click the “+” button to start fresh.
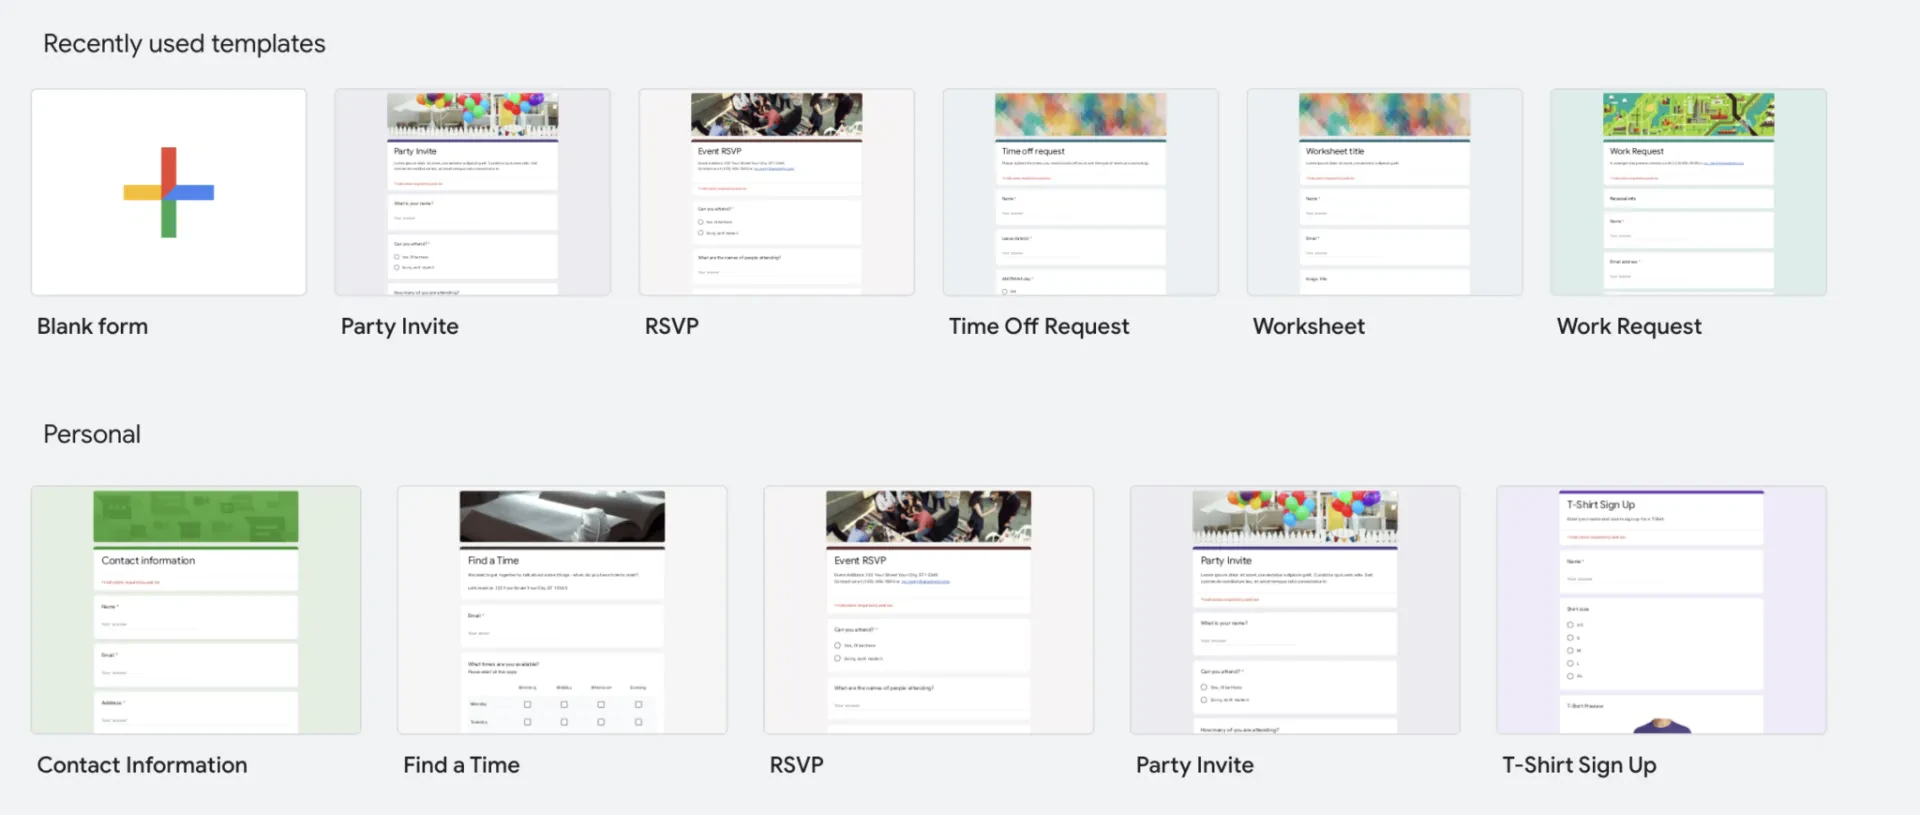
- Use a Template:
- Click on “Template Gallery” to choose from pre-designed forms.
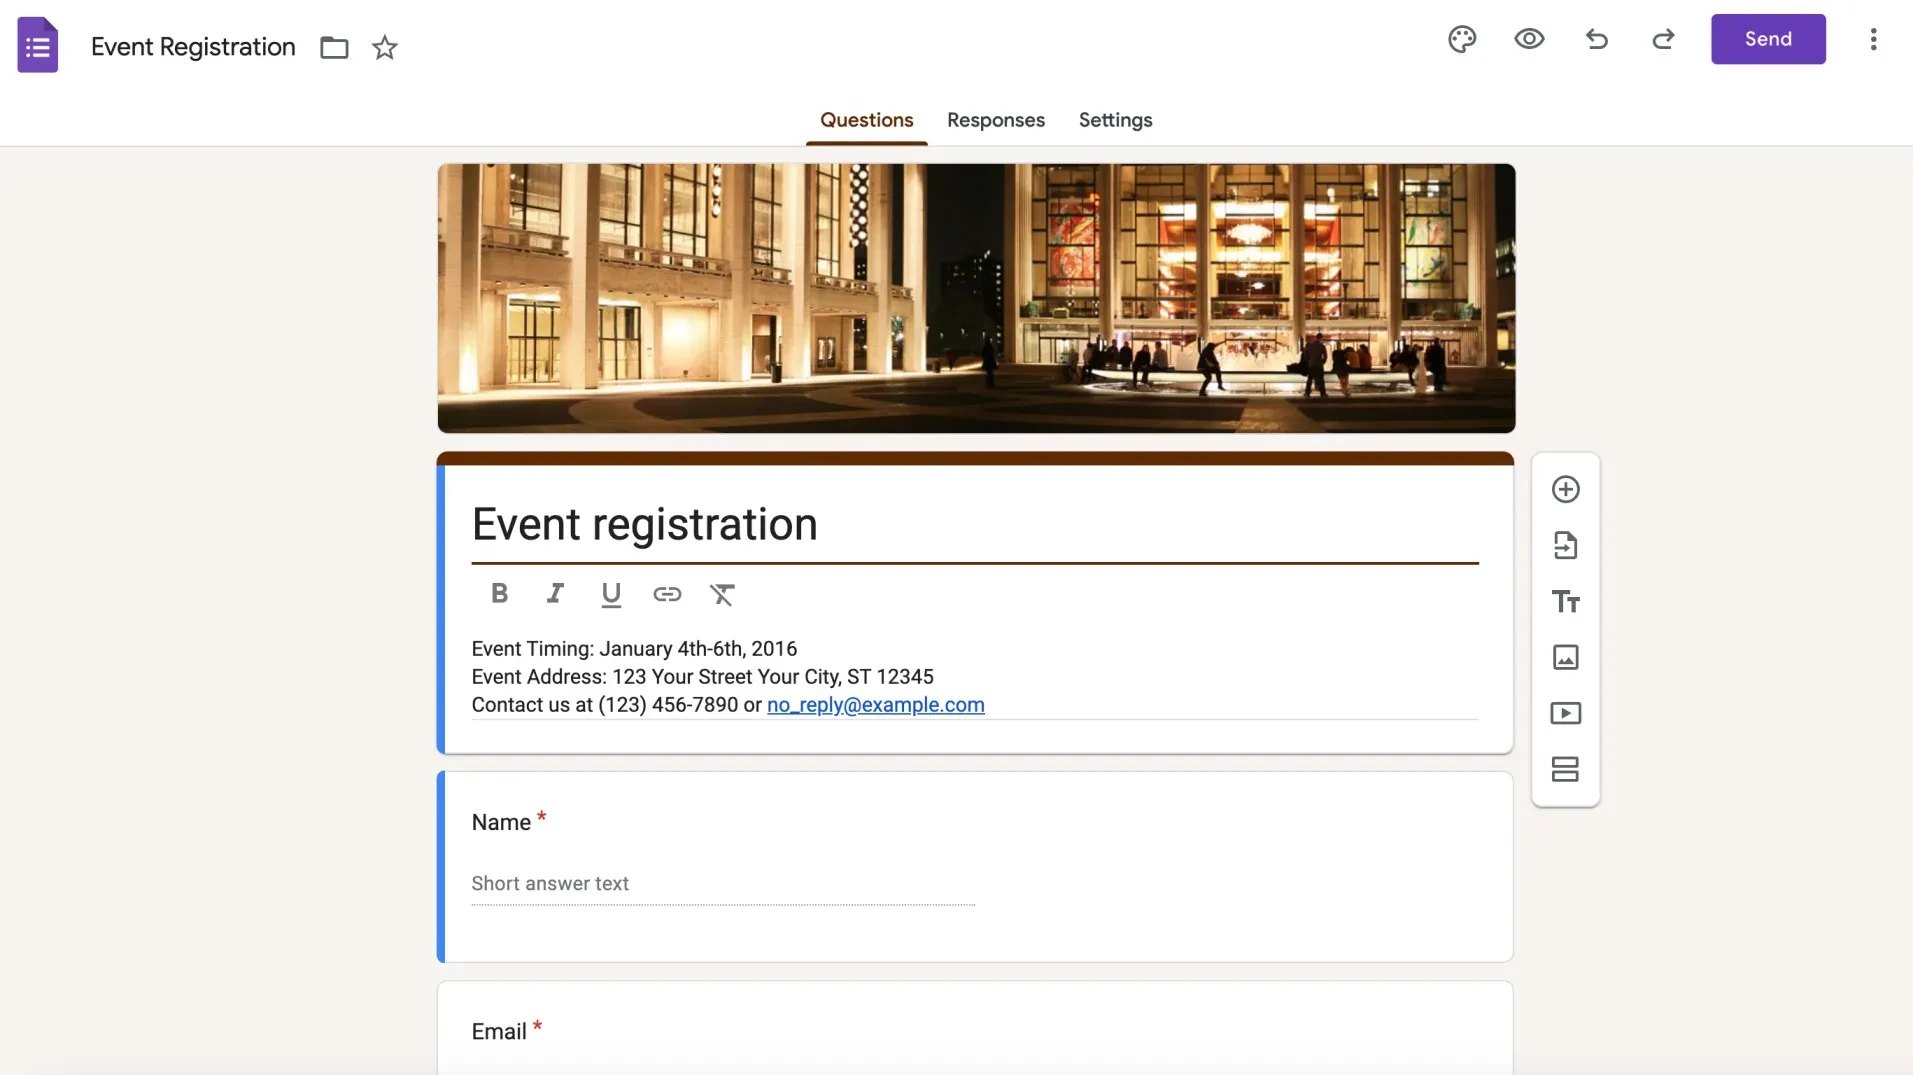
- Example: The “Event Registration” template includes standard fields such as name, email, and phone number, to save you setup time.
Read more: 7 best online registration tools for activities, classes and events
Step 3: Title and Description
- Set the Form Title:
- Click on “Untitled form” and enter a descriptive name, e.g., “Annual Charity Run Registration”.
- Add a Description:
- Provide important details such as date, time, location, and a brief overview of the event.
- Insight: A clear description helps participants understand the purpose and encourages them to complete the form.

To further optimize your sports registration form for conversion, read our 11 Best Ways to Improve Registration Form Conversion Rate
Step 4: Add Questions
- Insert Questions:
- Click the “+” icon to add new questions.
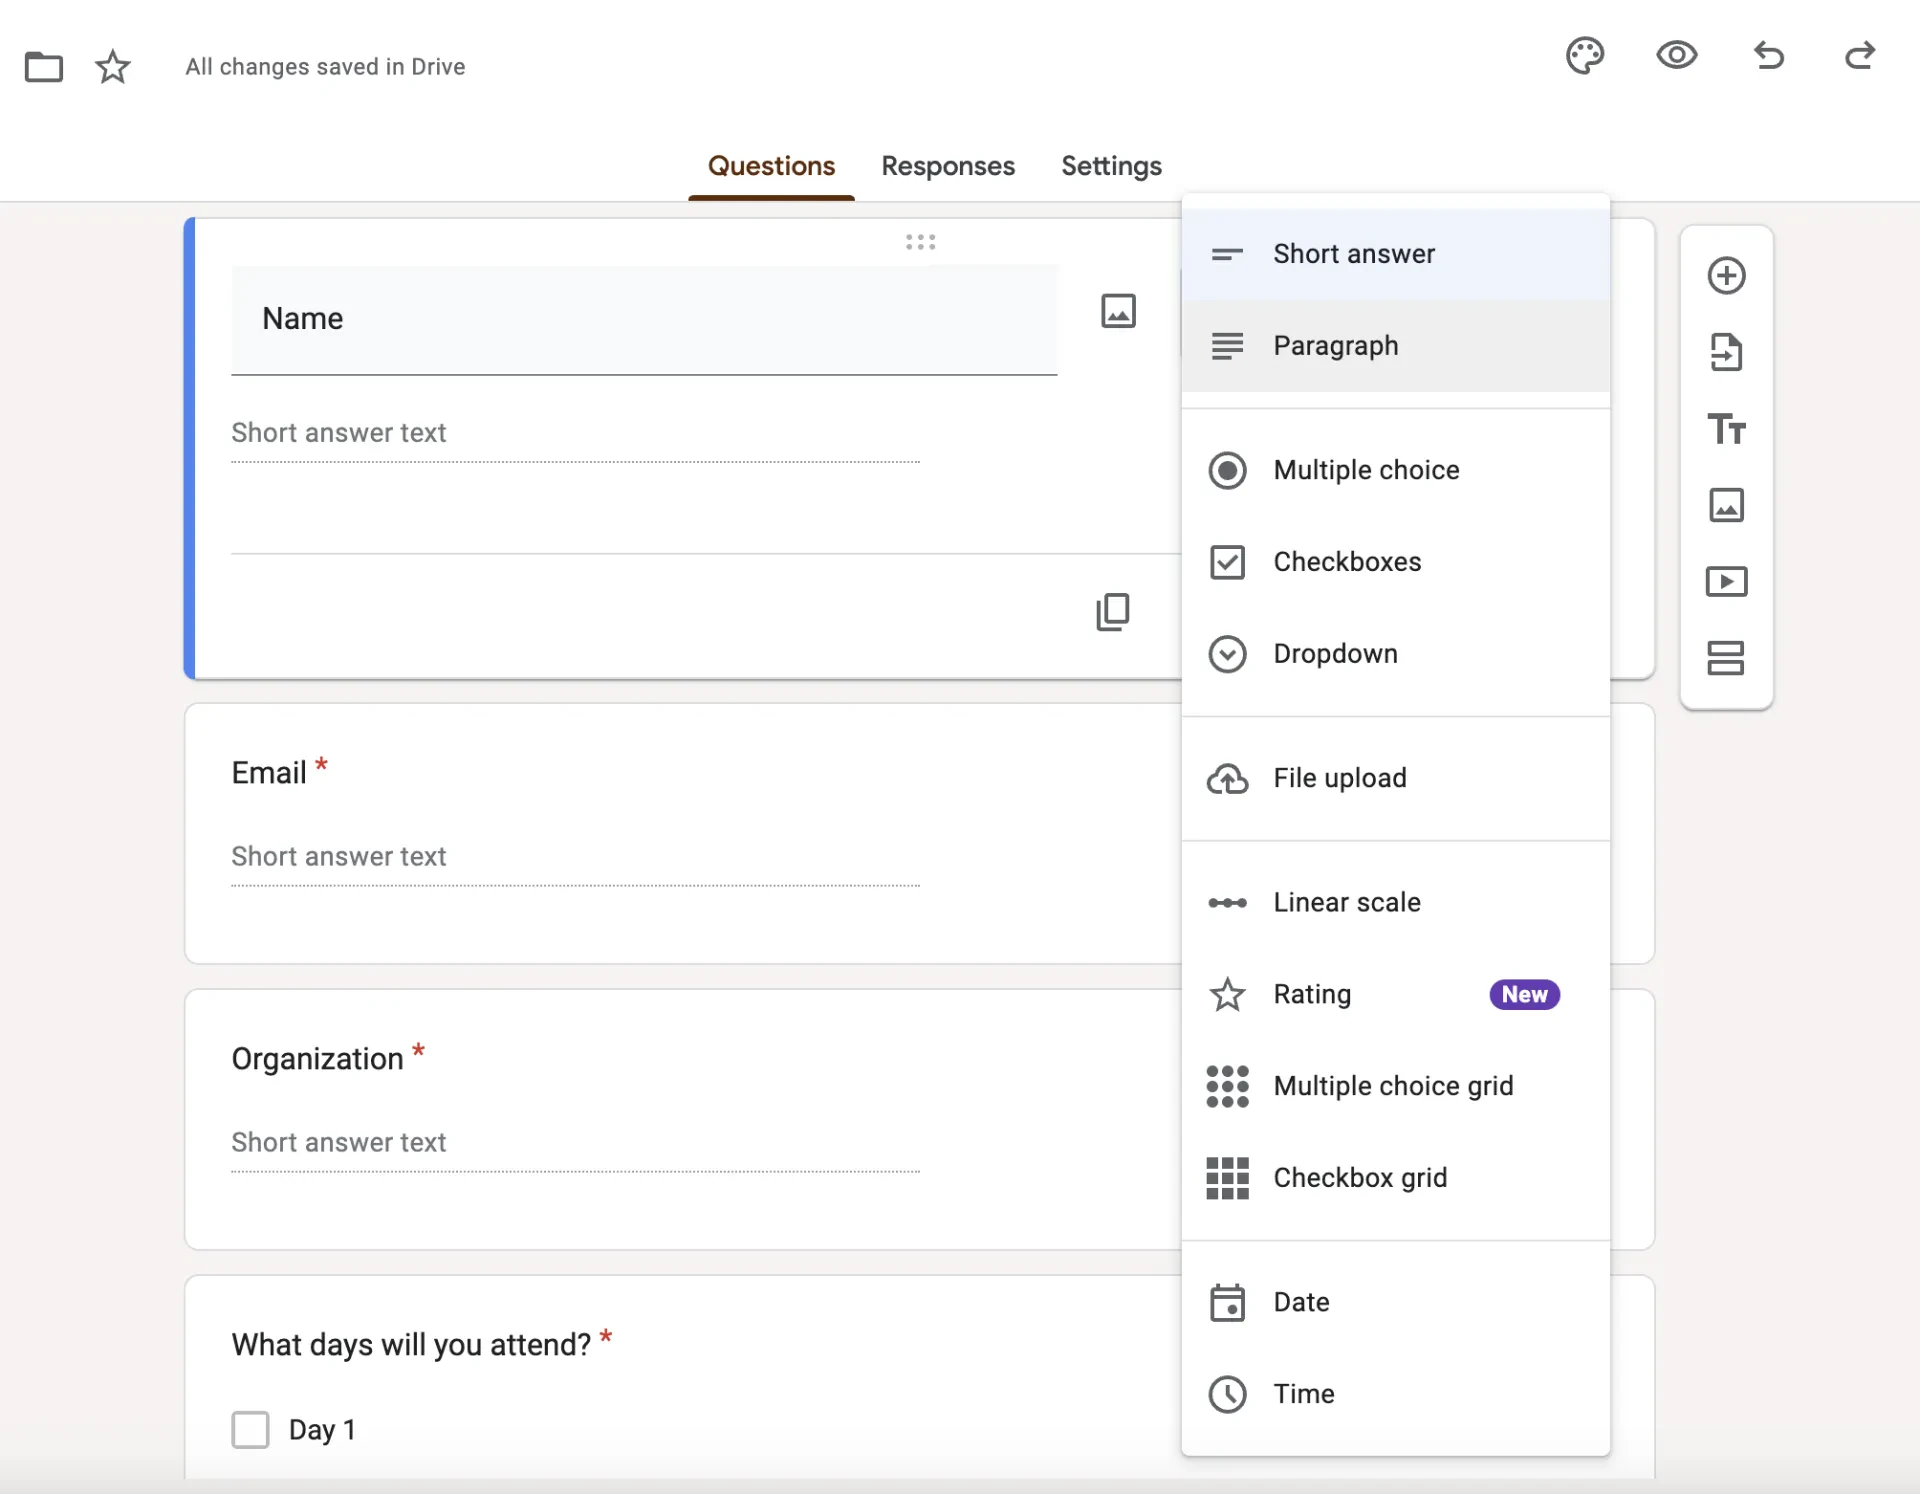
- Choose Question Types:
- Short Answer: For names, emails.
- Paragraph: For detailed responses.
- Multiple Choice: For selecting one option out of many (Activity or class they want to register in)
- Checkboxes: For selecting multiple options.
- Common Fields to Include:
- Full Name
- Email Address
- Phone Number
- Address
- Session Selection (if offering multiple sessions or workshops)
- Example: For a cooking class, you might ask, “Which cuisine are you interested in?” with options like Italian, Chinese, or Mexican.
An online registration form builder like Activity Messenger allows you to create multiple classes with attendance list, waitlist automation, online payments and much more.
Step 5: Customize Your Form
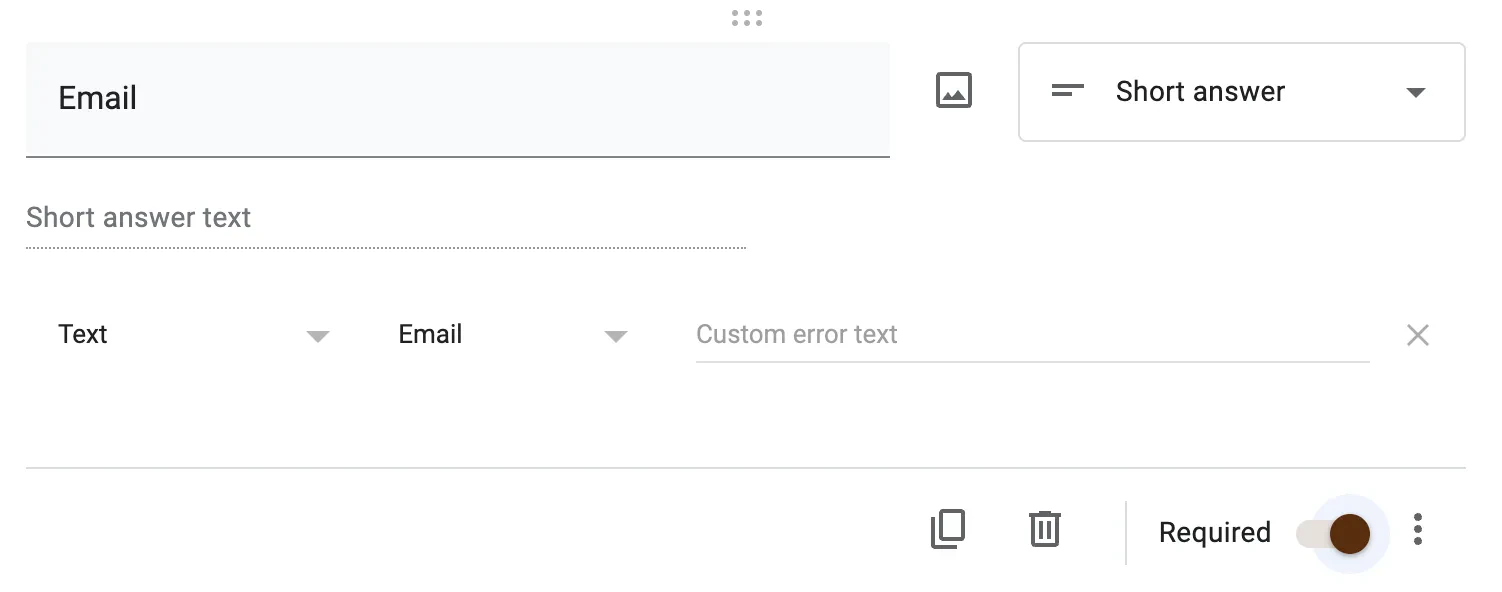
- Make Questions Required:
- Turn on the “Required” button to prevent incomplete submissions.
- Add Sections:
- Use the “Add section” icon to break your Google Forms into parts, such as “Personal Information” and “Activity Preferences”.
- Include Images or Videos:
- Use the “Add image” or “Add video” icons to increase engagement and improve conversion rates
- Including a simple promotional video or image can increase the number of registrants by providing more context.
Note: Some features that are not available in Google Forms but are very important when collecting online registrations is the ability to accept terms and conditions, digitally sign a liability payment and securely pay for the class, camp or activity. Depending on your location, the creation of fully bilingual registration forms may also be important.
Step 6: Adjust Settings
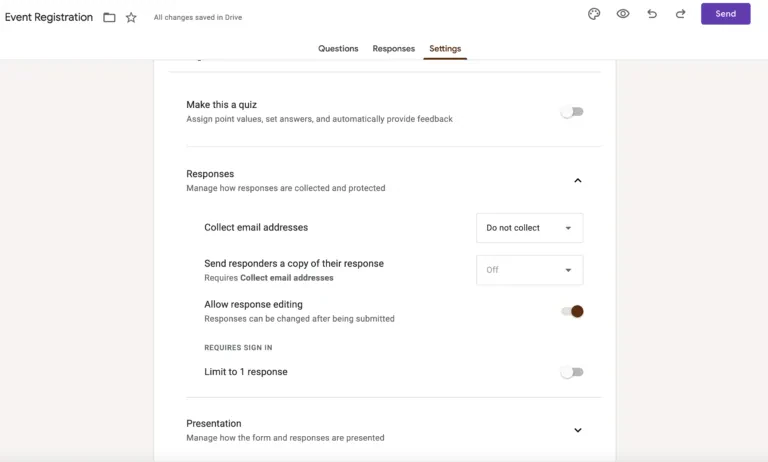
- Access Form Settings:
- Click on Settings in the top menu
- General Settings:
- Collect Email Addresses: Ensures you have contact info for confirmations.
- Limit to One Response: Prevents duplicate entries.
- Allow Edits After Submission: Useful if details might change for the registrants
- Presentation Settings:
- Show Progress Bar: Helps respondents know how much is left.
- Shuffle Question Order: Not typically used in registration forms.
Learn more: Create a membership form.
Step 7: Design Your Form
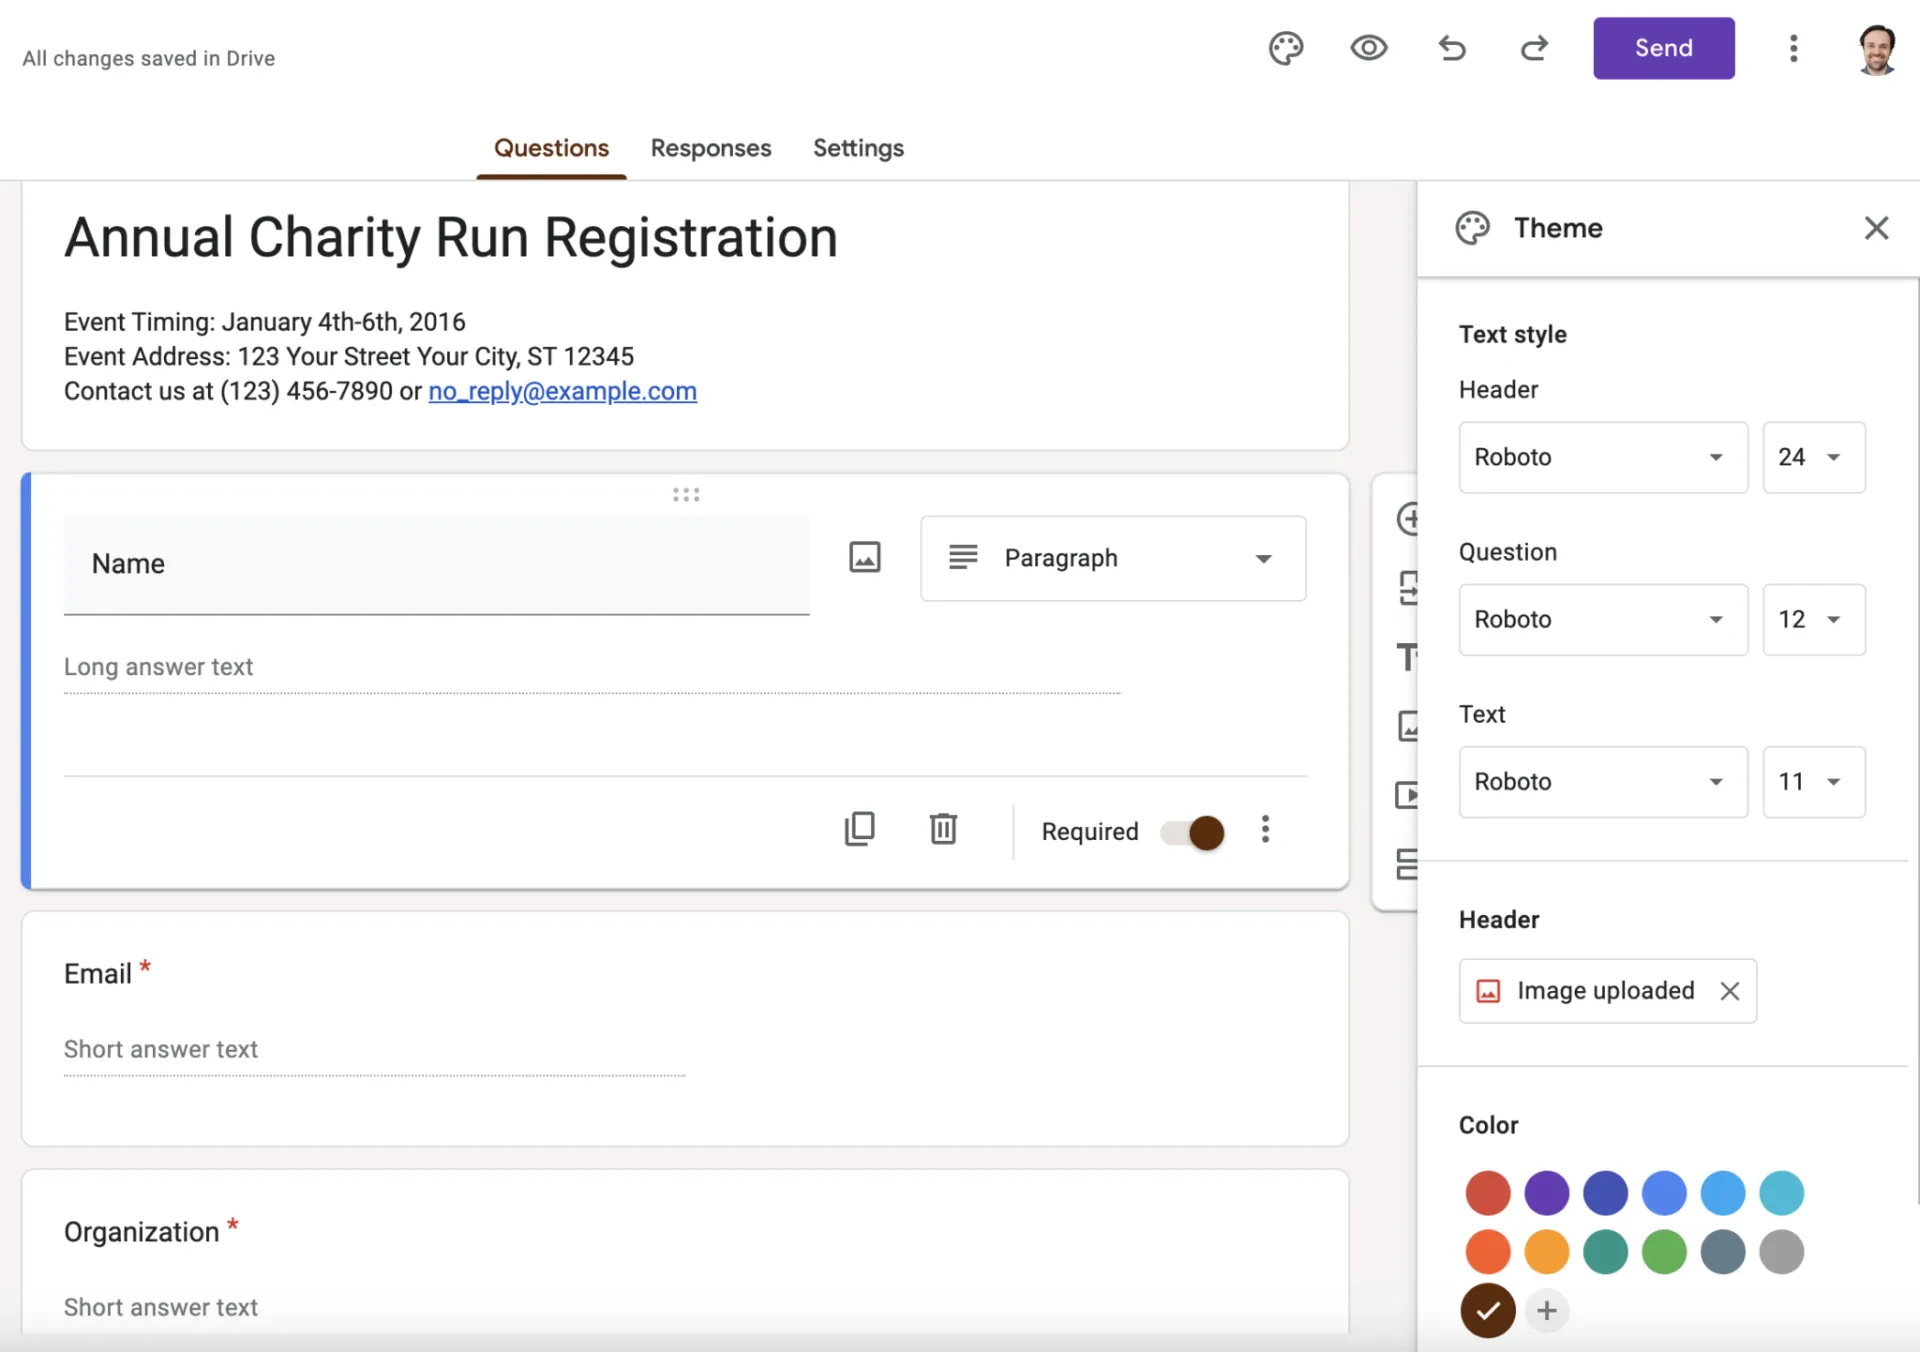
- Customize Theme:
- Click the palette icon to change colors and fonts. Learn more about Google Forms customization.
- Add a Header Image: Upload a banner that reflects your brand and the class or activity you are offering.
- Select Theme Colors: Match your organization’s branding.
Learn more: Why Clients Abandon Registration Forms (And How to Fix It)
Step 8: Preview Your Form
Test the Form:
- Click the eye icon to preview. This will open up another tab and show you exactly how participants will interact with your registration form
- Fill out the form to ensure all functionalities work.
- Insight: Testing helps you catch errors that might deter participants or lead to incomplete information collection.
Step 9: Share Your Registration Form
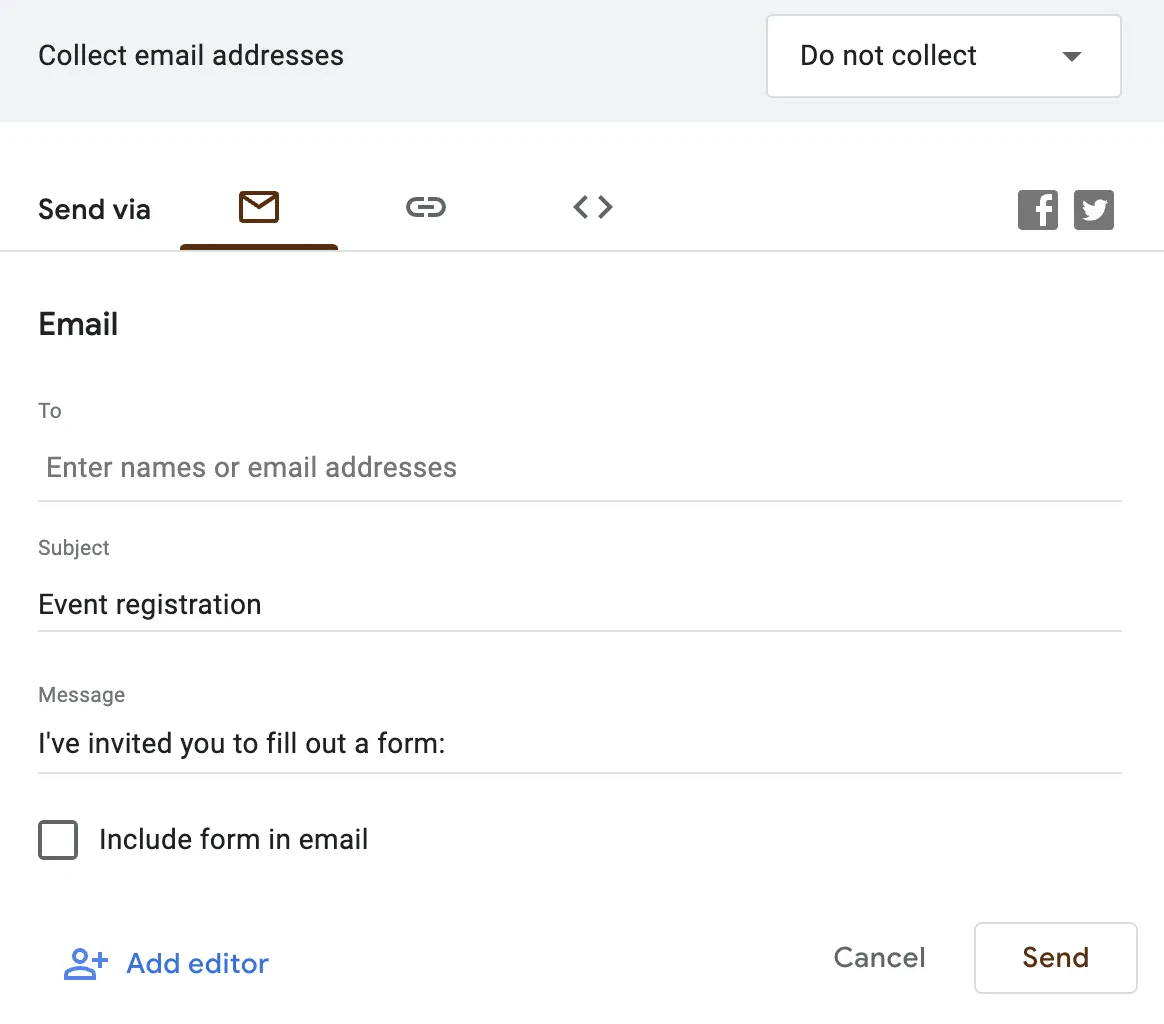
- Click “Send”:
- Located in the top right corner.
- Sharing Options:
- Email: Send directly to contacts.
- Link: Copy and share via social media or your website.
- Embed HTML: Integrate into a webpage.
- Social Media: Use share buttons for platforms like Facebook or Twitter.
Step 10: Collect and Manage Registrations
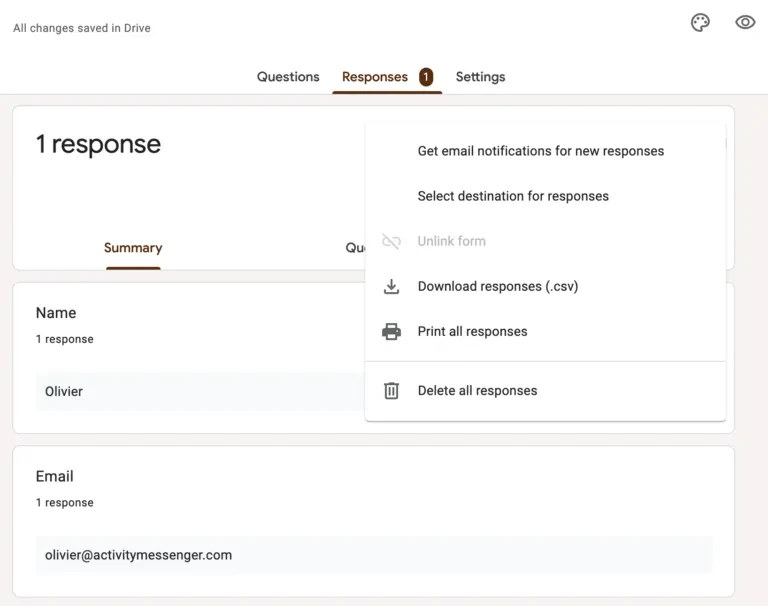
- View Responses:
- Go to the “Responses” tab.
- Analyze Data:
- Summary View: See aggregated data and charts.
- Individual Responses: Review entries one by one.
- Export Data:
- Click the Google Sheets icon to export responses.
- Example: Use the spreadsheet to check participants in.
- Set Up Notifications:
- Enable email alerts for new responses.
Introducing Activity Messenger - A Google Forms Alternative
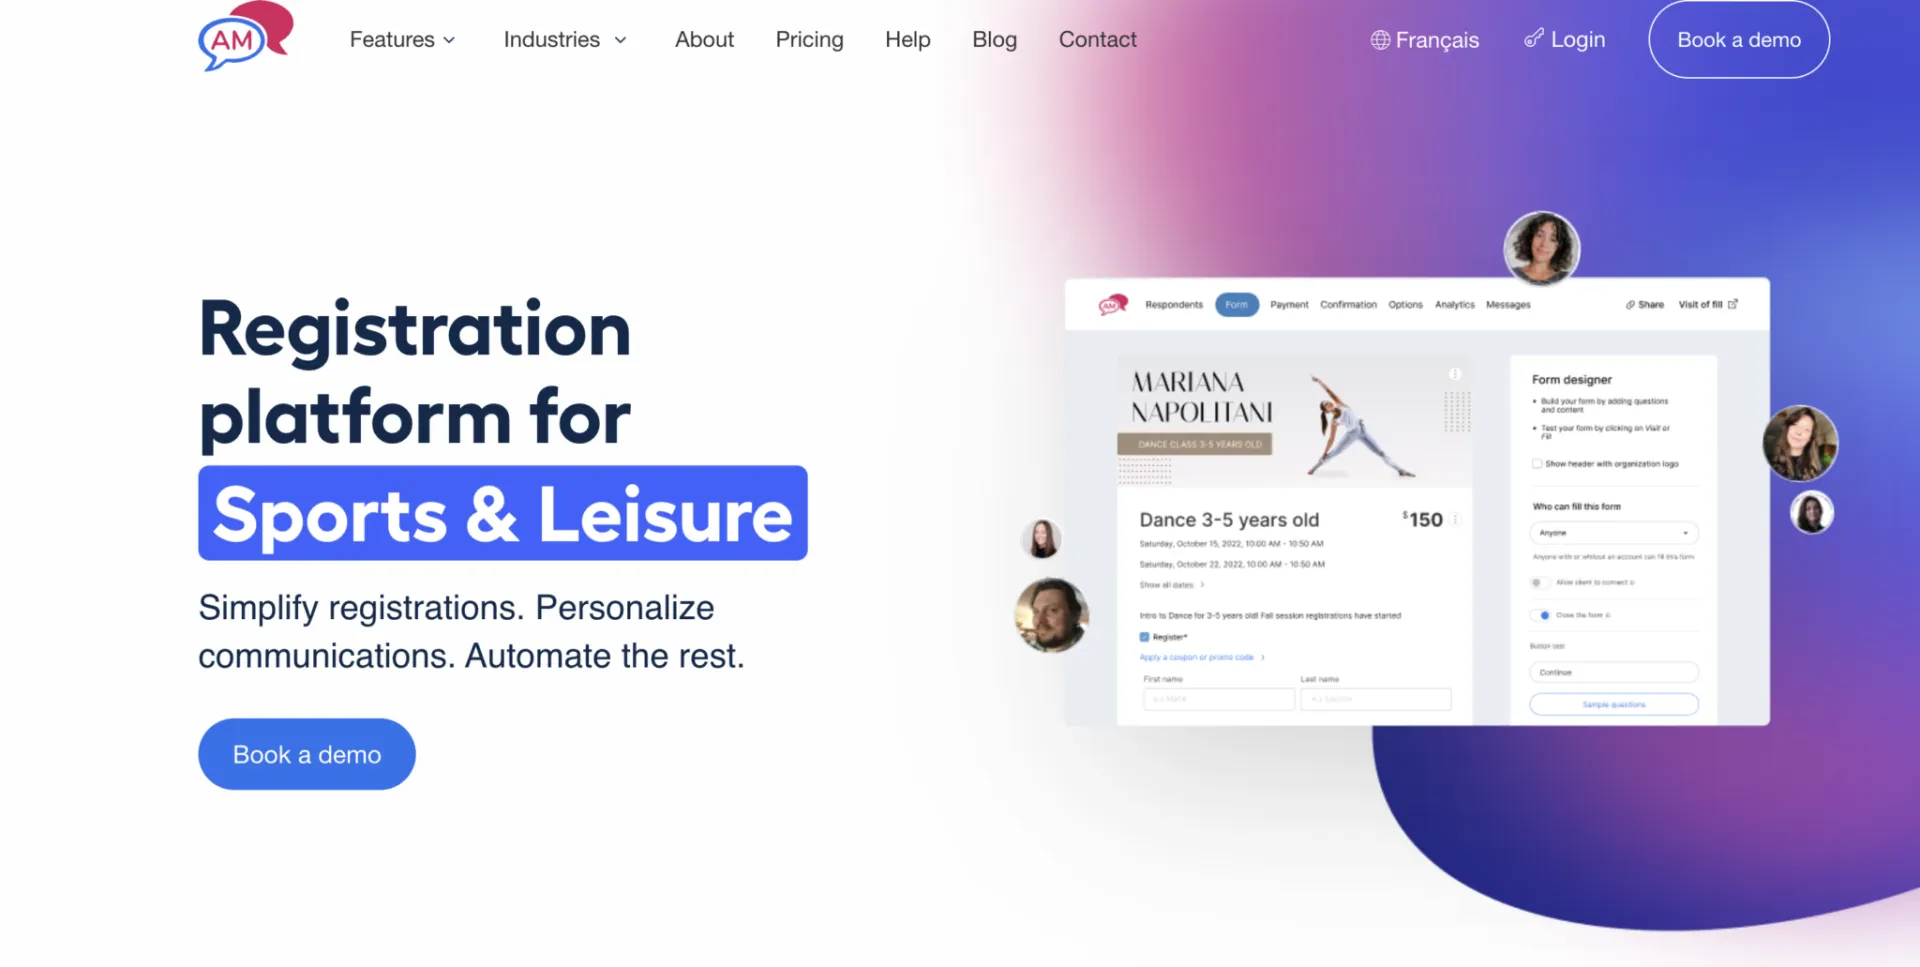
For advanced registration needs, Activity Messenger provides a form-building tool designed for online registration that has all the functionality of complex class management software. Here’s why you should consider Activity Messenger for your registration needs.
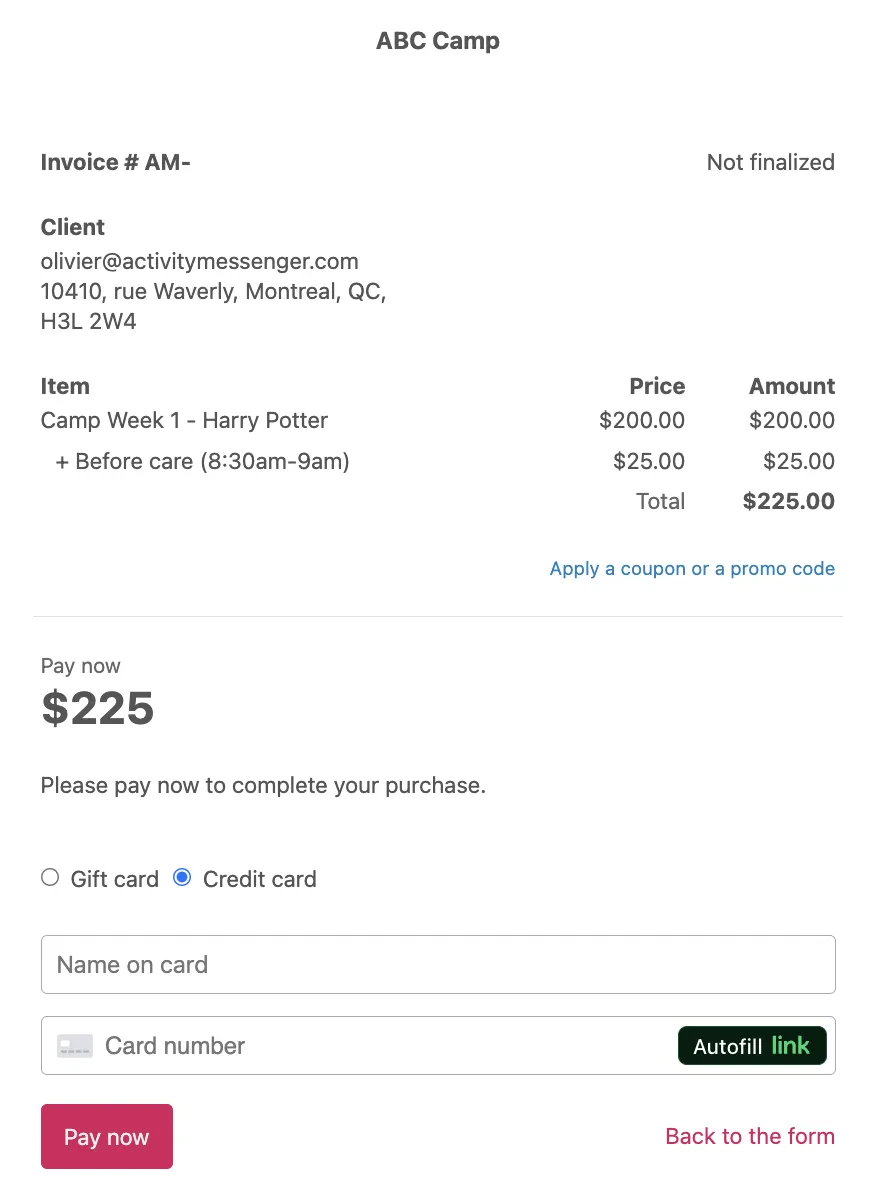
1- Integrated Payments:
- Secure Transactions: Accept payments during registration with Stripe.
- Example: Charge for event tickets, class tuition, or a summer camp registration deposit.
2- Include Advanced form options:
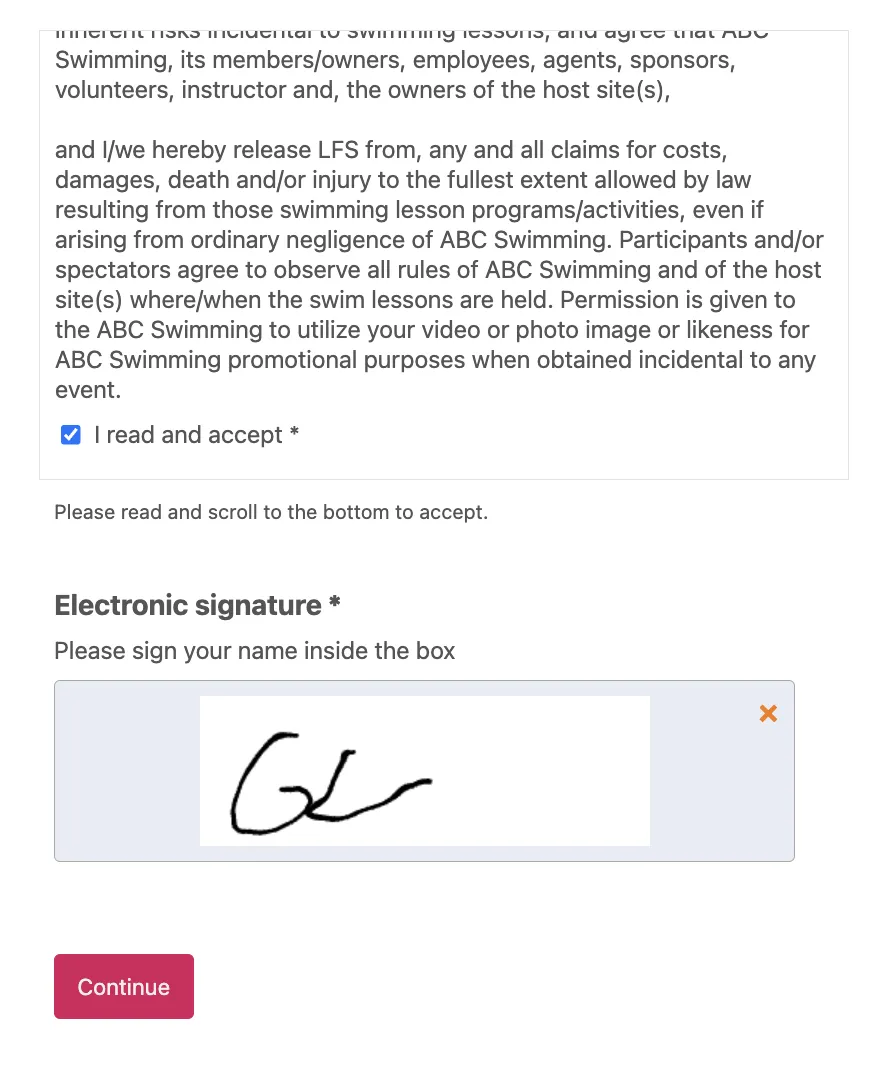
- Digital Signature: Collect legally binding signatures for agreements by Having participants sign a code of conduct or consent form.
- Liability Waiver: Incorporate waivers that participants can acknowledge during registration. This ensures legal compliance and reduces administrative paperwork.
- Conditional Logic: Display or hide fields based on user responses to streamline the registration process. For example, if a participant selects “Yes” for needing special accommodations, additional fields appear to collect more information.

- Invoice Items: Itemize different fees and costs for transparency. For examples, break down fees for materials, equipment rental, or optional add-ons.
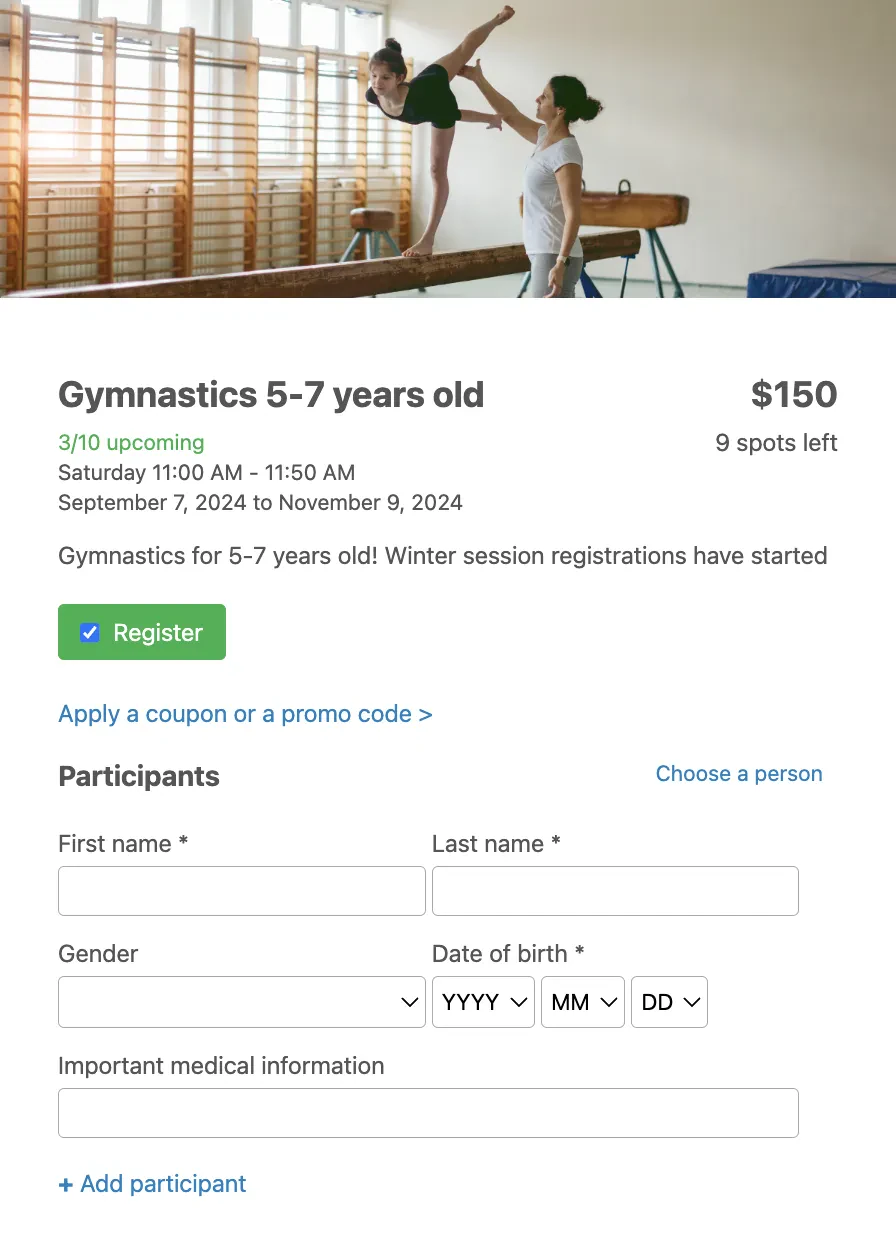
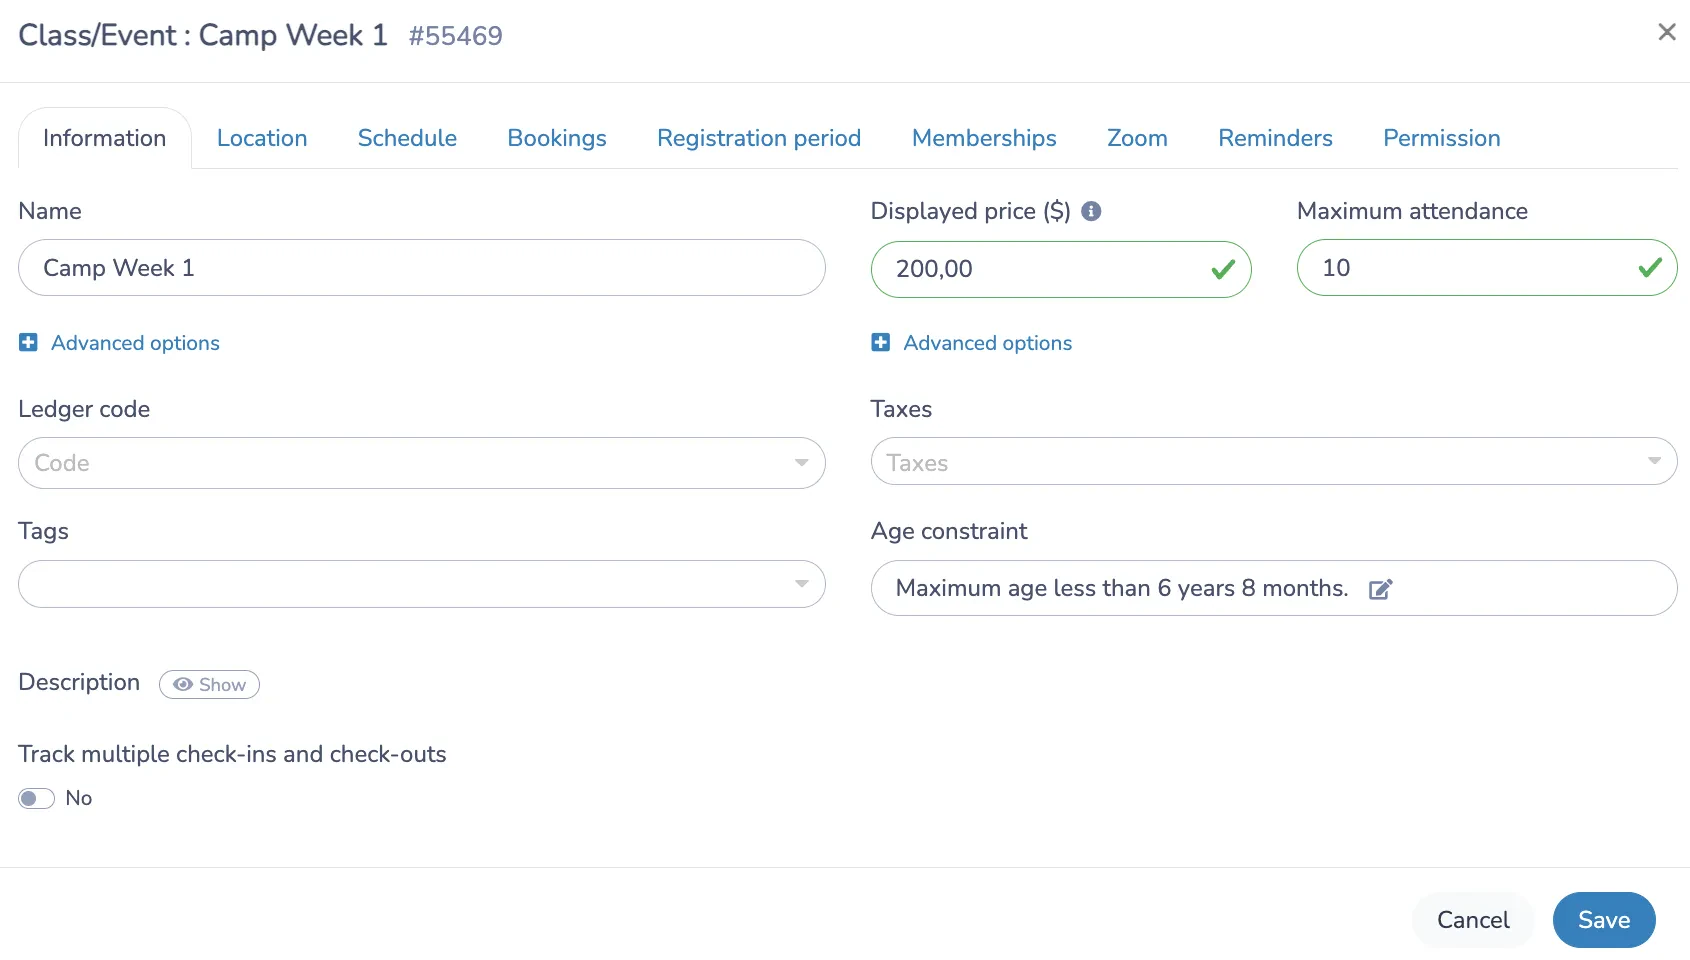
- Classes or Events: Manage multiple class or event options within a single form. This simplifies the registration process for events with multiple session or workshop options.
3- Automated Communications:
- Confirmation Emails: Send instant confirmation emails with personalized details about the class they have chosen and the invoice they will receive.
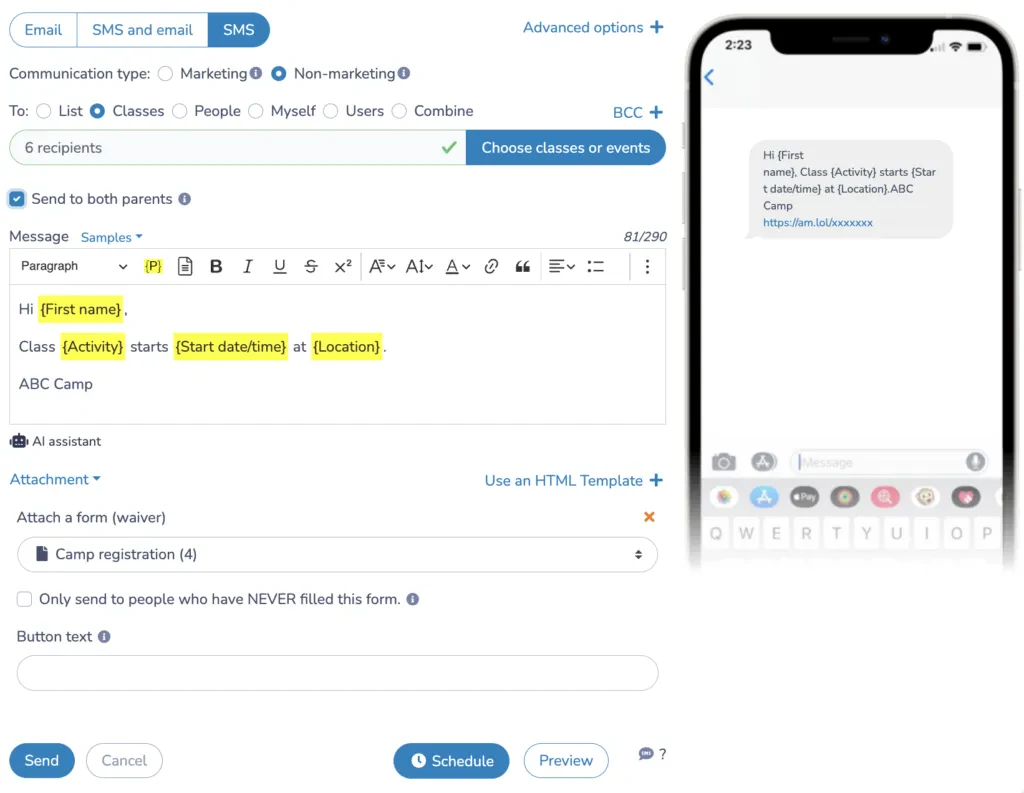
- Reminders: Schedule SMS notifications prior to the activity or reach out to a specific lists of participants from the attendance list in the event of a class cancellation or last-minute change.
- Post-Event Survey: Create a survey to be sent out automatically to all participants following the last day of the session
4- Custom Branding:
- Professional Look: Customize forms to match your brand identity with our Canva integration.
- Consistent Messaging: Create professional-looking, branded email and SMS templates, including mail merge for personalization.
- Detailed Reports: Analyze registration trends, form abandonment rates, and demographics.
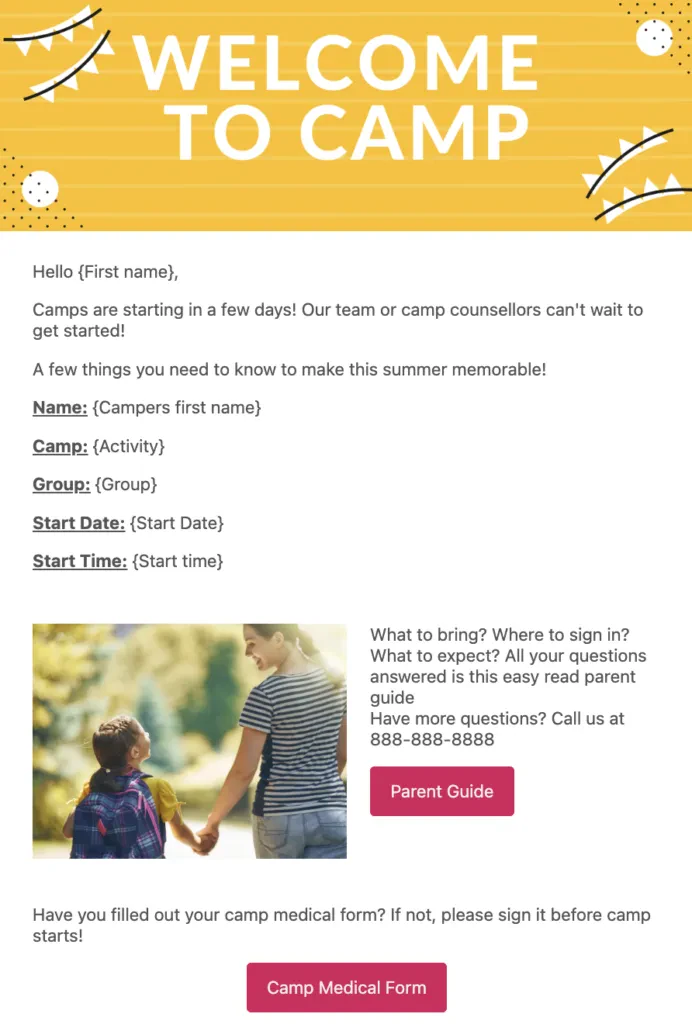
5- Marketing Capabilities
- Retargeting and Conversion Tracking: Recover Lost Opportunities: Use retargeting to reach out to potential participants who started but did not complete registration and payment. Track conversion rates to understand and improve your marketing effectiveness.
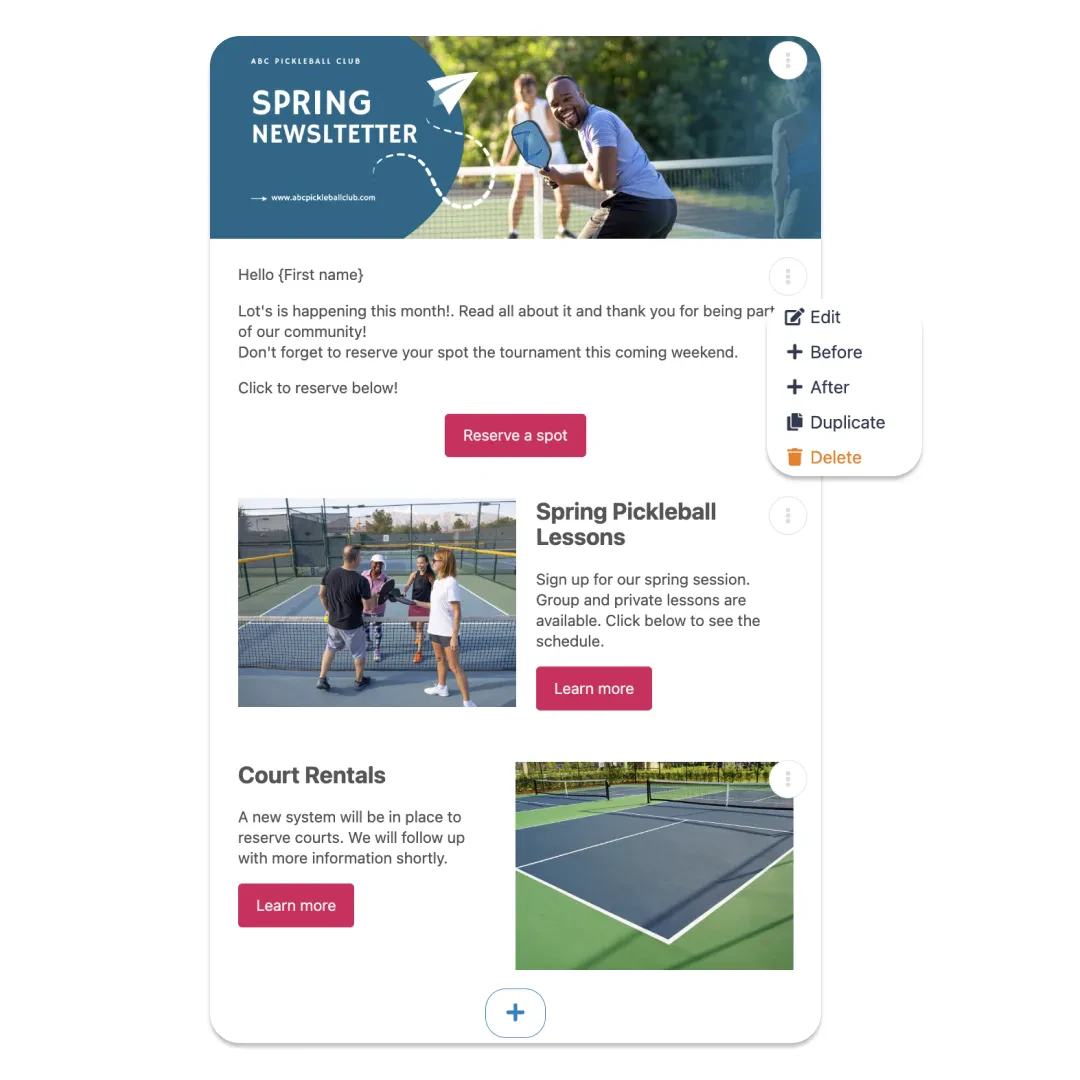
- Email Marketing Integration:Use built-in email marketing tools (Mailchimp alternative) to communicate with your audience in the form of a newsletter. Target specific groups with tailored messages depending on the type of class or activity you are offering.
- Upselling Opportunities: Increase average transaction value by offering additional products, items or services during the registration process to boost revenue.
Final Thoughts and Recommendations
- Assess Your Needs:
- Simple Course Registration: For basic registration without payments, multiple options or advanced features, Google Forms suffices.
- Complex Class Options and Marketing Tools: For classes or activities needing payments, liability waiver, automated communications, and integrated marketing tools, consider Activity Messenger.
- Budget Considerations:
- Cost-Free Options: Google Forms is free.
- Value vs. Cost: While Activity Messenger has a cost, the enhanced features and efficiencies, especially in marketing and revenue generation, make it worth the price.
- User Experience:
- Ease of Use: Both platforms are user-friendly, but Activity Messenger offers a more comprehensive solution for class management and marketing.
- Try Before Committing:
- Free Trials: Explore Activity Messenger’s capabilities with a trial period.
- Feedback Loop: Pilot the form and marketing features with a small group to gather insights before full deployment.
By leveraging Activity Messenger’s advanced features-including integrated payments, digital signatures, liability waivers, conditional logic, automated communications, custom branding, marketing tools such as retargeting and email campaigns, and advanced data management-you can improve the attendee experience, streamline administrative tasks, effectively market your events, and project a professional image for your organization. Evaluate your specific needs and choose the platform that best meets your goals.
To learn more about Activity Messenger, book a demo with one of our experts.