Creating a registration form that also collects payments is one of the most impactful ways to streamline how you run classes, events, or programs.
Done right, a single online registration form can replace manual invoicing, scattered spreadsheets, and back-and-forth emails, giving clients a smooth experience and freeing up time for your admin team.
In this article, we’ll walk through how to build one that includes a digital waiver and integrated payment processing, all in one place.
Note About the Author: Throughout the article, Olivier shares tips and tricks he’s gained over the last decade of running a multi-location business and as co-founder of Activity Messenger, helping hundreds of organization owners across North America streamline their operations and improve their registration forms.
Before building anything, decide what information you actually need from participants or families. Starting here prevents over-complicated forms that drive users away.
Here are a few things to consider:
Common fields include name, email address, phone number, address, emergency contact, medical information, terms and conditions, digital signature, and date/time selection.
You’ll need a registration platform that integrates natively with a payment processor like Stripe. While it’s technically possible to build a form using HTML and CSS, this requires significant development time and ongoing maintenance.
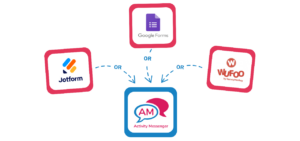
A no-code form builder is a much faster option. You simply drag and drop fields to create the experience you want. Popular choices include Google Forms, Jotform, Microsoft Forms, Wufoo Forms, and Activity Messenger.
Learn how Swim-to-Safety moved their registration forms to Activity Messenger:
“We had to do all of our invoicing manually and had no way to collect digital signatures for waivers or forms. At the time, we were operating on such a small scale that it wasn’t a big deal. But it wasn’t sustainable. It was a lot of chasing and a lot of extra work to do all that. I was manually tracking payments, manually tracking attendance, and manually tracking every single part of the process. Activity Messenger changed all that.”
👉 Businesses may be tempted to use Google Forms. While this may be a good choice when starting out, Google Forms is not ideal for a growing business or organization because it lacks key features such as attendance tracking, digital signatures, online payments, and waitlist automation.
In this article, we discuss how to build a registration form using Activity Messenger, but the following steps are similar for most form builders:
Most registration forms require participants to select an activity, class, membership, or pricing option. Here’s how to configure this:
Before you can start integrating payments into your registration form, you need to create a Stripe account.

Head to the Stripe website, sign up, and then connect it to your registration form inside Activity Messenger.

For Canadian organizations, you can integrate Interact E-transfer payments into your registration form if you don’t want to accept credit card payments.
Before you share your form with your customers, you’ll need to test it. Verify that the payment process works correctly, required fields behave as expected, and the overall experience feels smooth from a participant’s perspective.
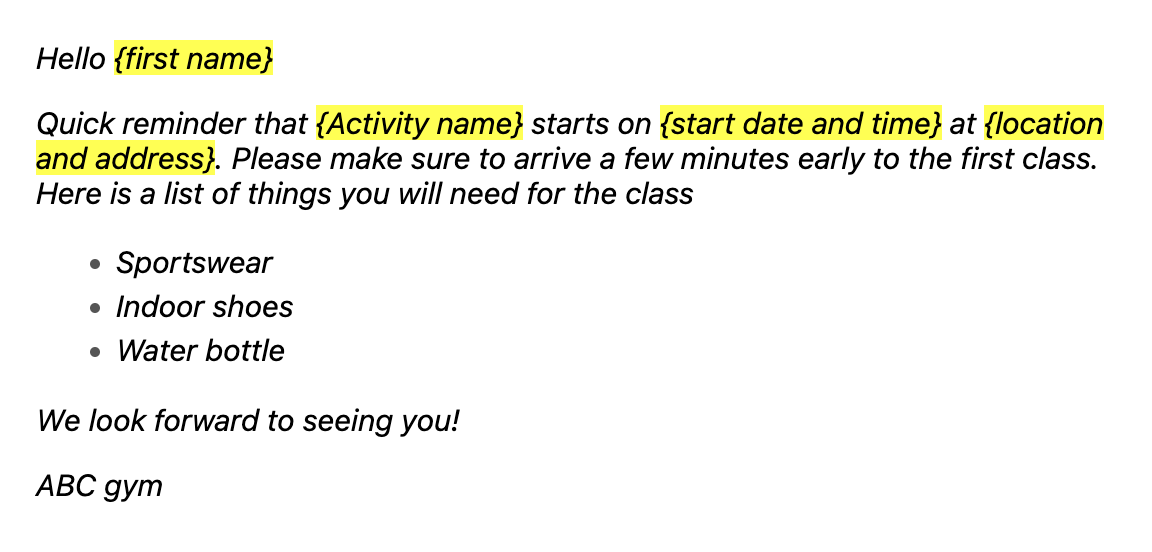
Activity Messenger automatically sends a confirmation (or welcome) email after a form is submitted. This email should include the invoice and any details participants need to know, including class location, what to bring, next steps, etc.

You can customize the message for each registration form to set clear expectations and reduce follow-up questions.
📌 Read More: What should your confirmation email include?
What happens after registration is just as important as the registration itself. People now expect clear, personalized, and timely outreach related to the class or event they selected.
Consider automating:
Activity Messenger’s automated tasks make it easy to reach registrants at exactly the right moment without any manual work.
Activity Messenger works similarly to platforms like Eventbrite: you can sell tickets online, via QR code, or directly from your website, with full Canva customization for your ticket design.
You can also send personalized RSVP invitations to a guest list, track responses, and use scannable QR codes on each ticket to streamline check-in and reduce congestion at the door.
Where Activity Messenger stands out:
💡 Did You Know? Activity Messenger can also replace class management software for martial arts, dance studios, gymnastics clubs, swim schools, and camps.
An online registration form with payment is a single form that collects participant information and processes fees at the same time. Instead of registering and paying in separate steps, everything happens in one place to reduce drop-off and eliminate manual invoicing for the organizer.
Key components of registration forms with payment include personal information fields, an event or class schedule, a payment method selection, and agreement to the terms and conditions.
The most commonly used payment gateways for registration forms are Stripe, PayPal, and Square. Stripe is the most widely supported, offering flexible pricing, strong security, and easy integration with platforms like Activity Messenger.
No. Most registration platforms generate a unique URL for your form that you can share directly via email, SMS, or social media. You can also embed the form into an existing website or link to it via a QR code; no dedicated website is required.
Yes, these forms are highly customizable with tools like Activity Messenger, allowing you to include specific event details, branding elements, and variable pricing options.
To enhance the user experience for forms, focus on simplicity, clear guidance, minimal required fields, responsive design for mobile users, and visible security badges to increase trust.
Chasing payments, managing spreadsheets, and sending manual reminders are all symptoms of a registration process that hasn’t been fully automated yet.
The steps in this guide give you everything you need to fix that: one form, one payment flow, and the automated follow-up to back it up. Activity Messenger and Stripe handle the complexity so you don’t have to.
👉 See exactly how Activity Messenger simplifies registration from start to finish. Book your free personalized walkthrough today.


