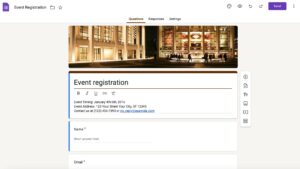
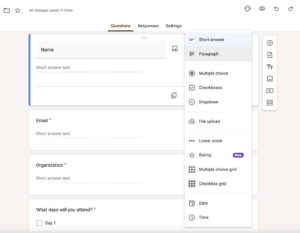
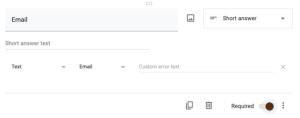
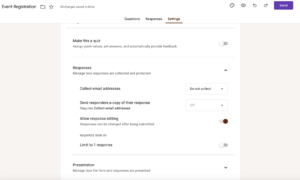
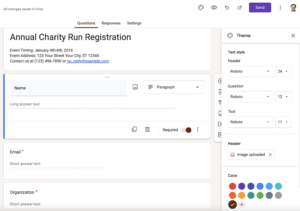
Google Forms is a free online tool that makes it easy to create custom registration forms. In this step-by-step guide, we’ll show you how to create a registration form using Google Forms.
Author’s note: Olivier is the co-founder of Activity Messenger & shares tips and tricks that have helped hundreds of dance studios, gymnastics clubs, swim schools, Soccer Academies and camps design mobile friendly registration forms that streamline operations and increase revenue.


To further optimize your sports registration form for conversion, read our 11 Best Ways to Improve Registration Form Conversion Rate
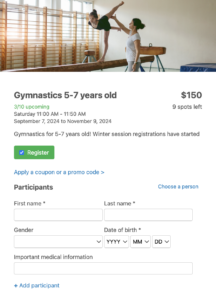
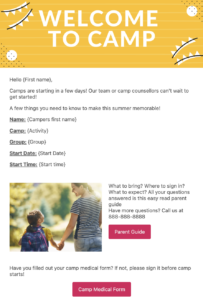
An online registration form builder like Activity Messenger allows you to create multiple classes with attendance list, waitlist automation, online payments and much more.
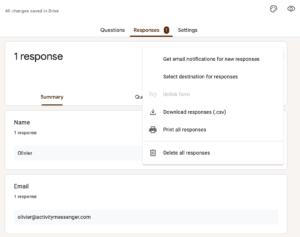
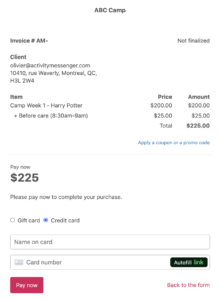
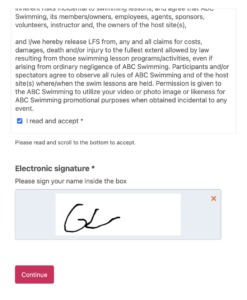
Note: Some features that are not available in Google Forms but are very important when collecting online registrations is the ability to accept terms and conditions, digitally sign a liability payment and securely pay for the class, camp or activity. Depending on your location, the creation of fully bilingual registration forms may also be important.
Learn more: Create a membership form.
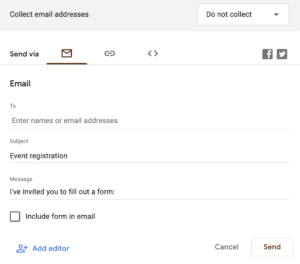
Test the Form:

For advanced registration needs, Activity Messenger provides a form-building tool designed for online registration that has all the functionality of complex class management software. Here’s why you should consider Activity Messenger for your registration needs.

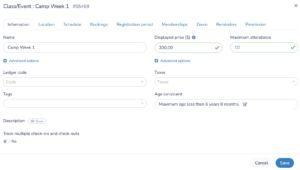
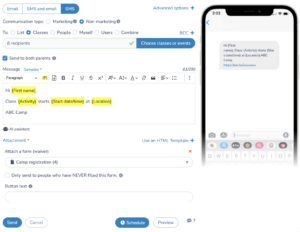

By leveraging Activity Messenger’s advanced features-including integrated payments, digital signatures, liability waivers, conditional logic, automated communications, custom branding, marketing tools such as retargeting and email campaigns, and advanced data management-you can improve the attendee experience, streamline administrative tasks, effectively market your events, and project a professional image for your organization. Evaluate your specific needs and choose the platform that best meets your goals.
To learn more about Activity Messenger, book a demo with one of our experts.


