
Google Forms is a simple, yet versatile tool for creating and managing surveys.
In this guide, we’ll go through each step in detail to help you create professional-looking surveys, engage respondents and collect actionable results.
Step 1: Go to Google Forms
Getting Started
- Go to the Google Forms: Sign in to your Google Forms account.
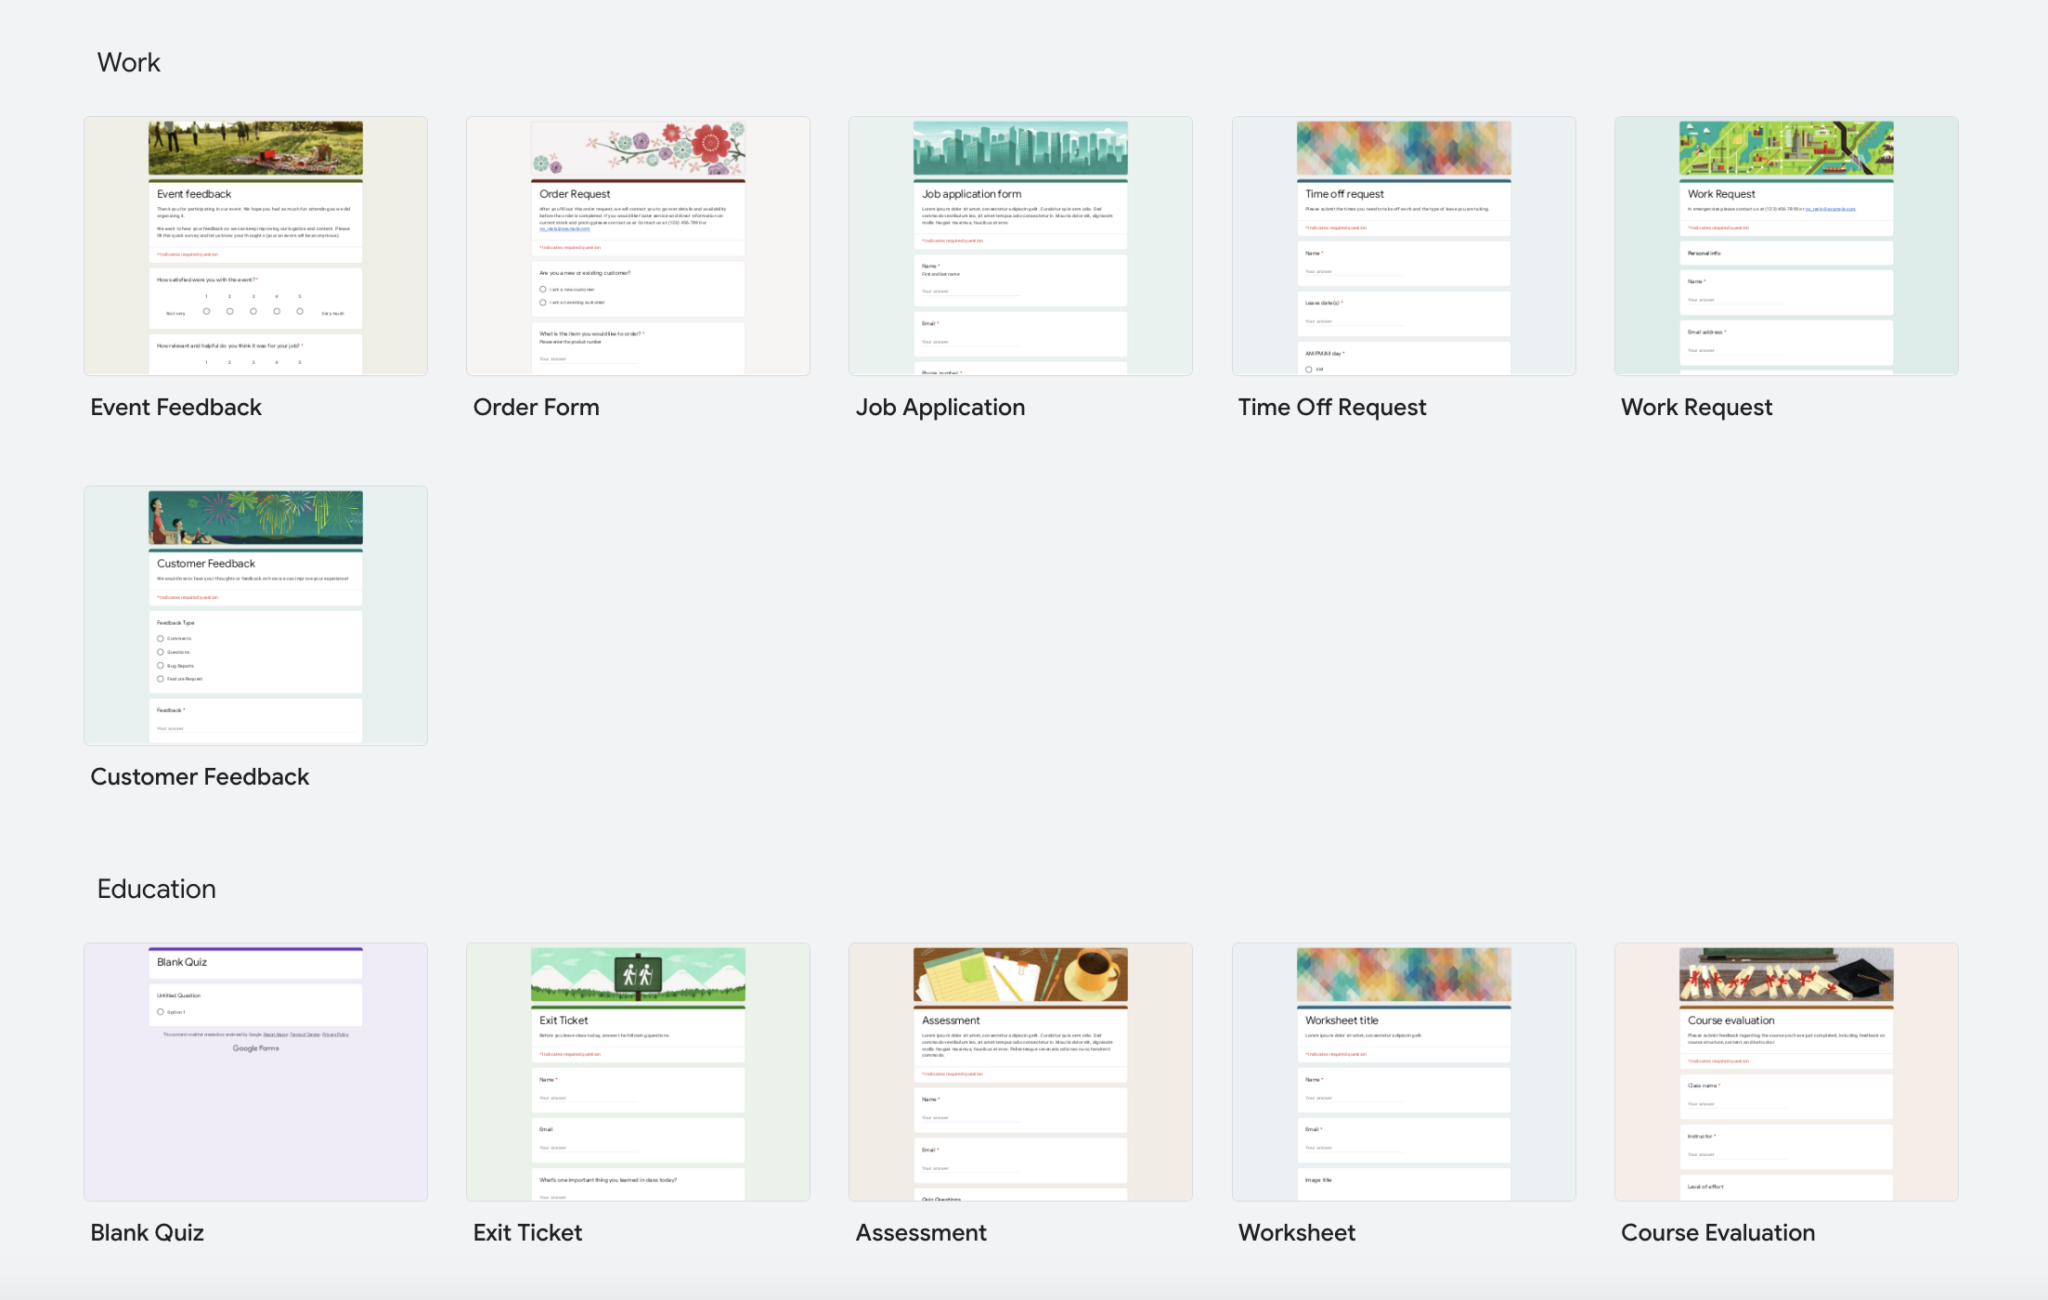
- Choose a Template: Click on the blank form to create a custom survey, or select a pre-designed template that fits your survey type, such as event feedback, customer satisfaction, or exit survey.
Pro Tips
- Template Advantage: Templates save time and often include well-thought-out questions relevant to common survey goals.
- Bookmark the Page: Save Google Forms to your bookmarks for quick access.
Step 2: Name and Customize Your Survey
Title and Description
Title and description are the first things respondents see, so make them clear.
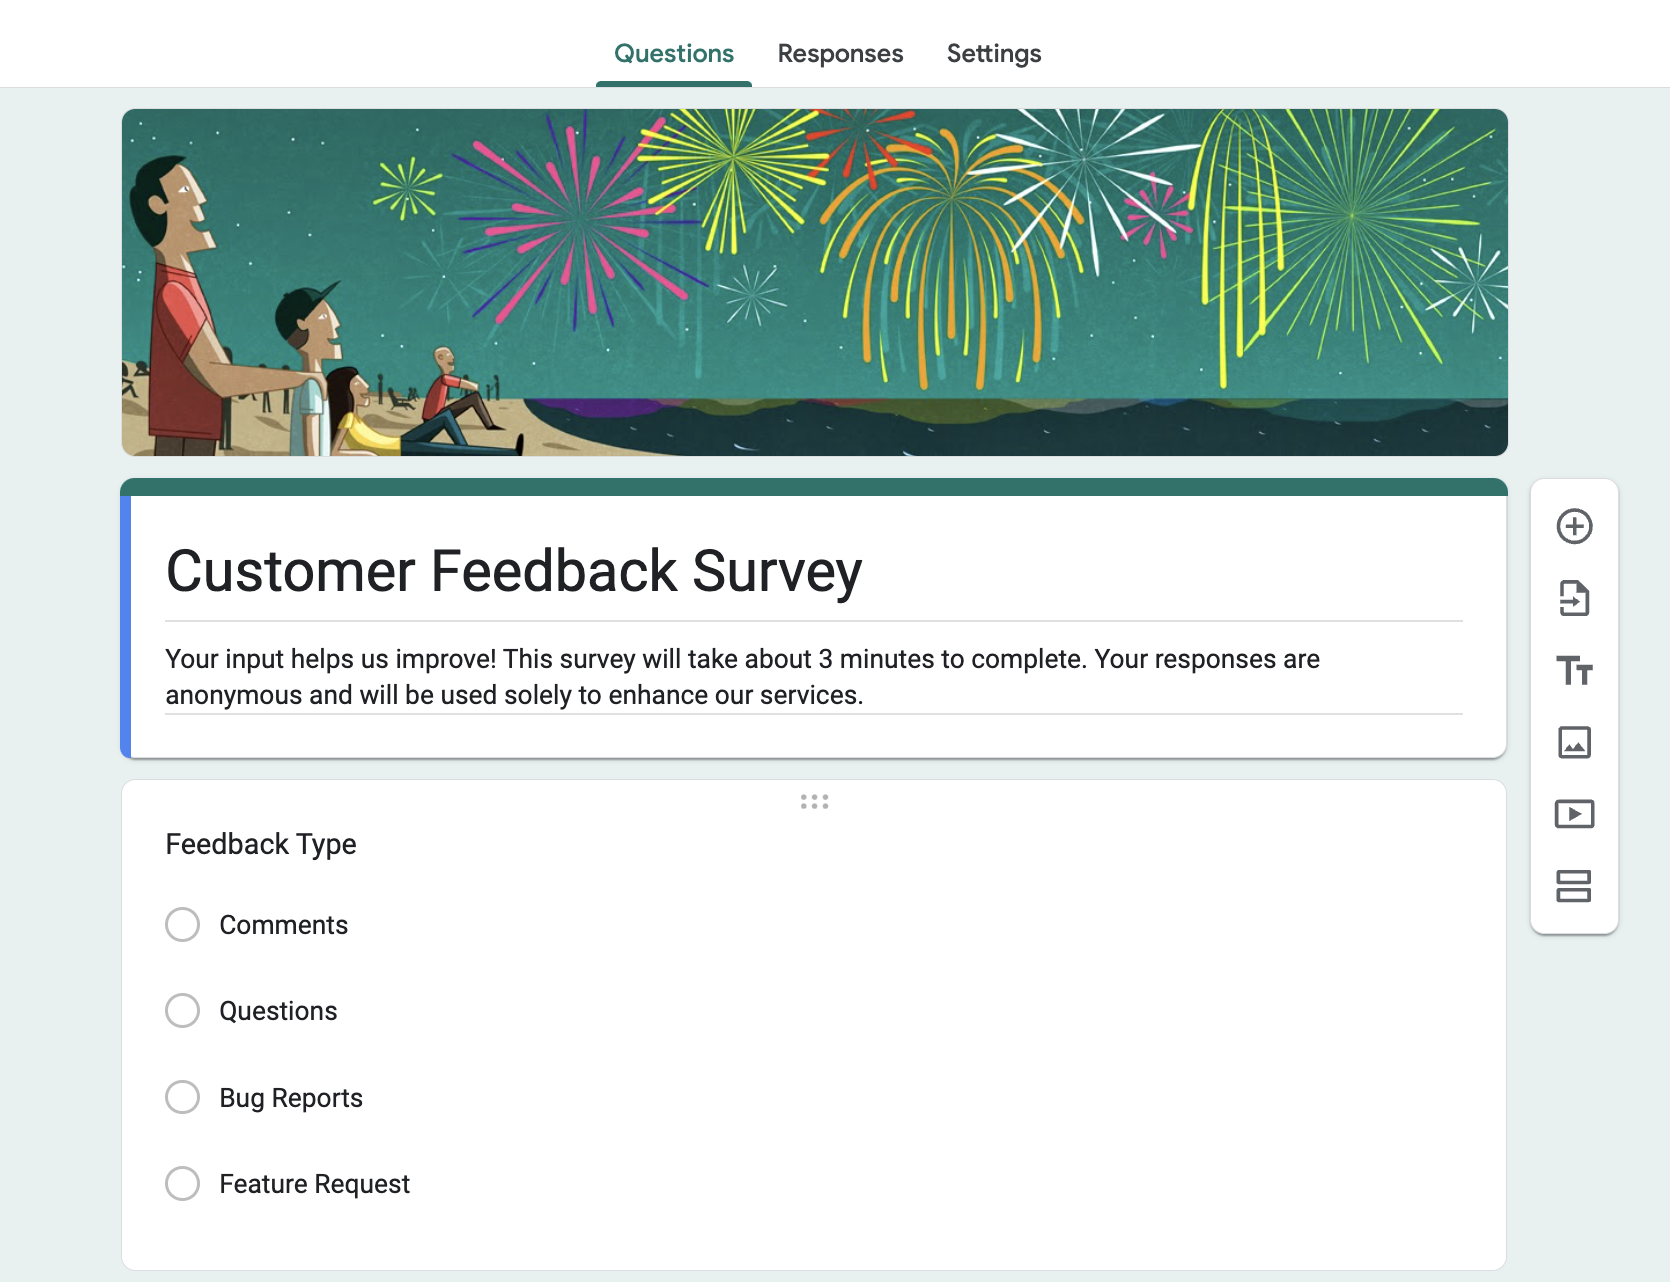
- Form Title: This should be concise yet descriptive.
- Example: Instead of “Survey,” use “Customer Feedback Survey” or “2024 Annual Employee Survey.”
- Description: Explain the survey’s purpose and how the data will be used.
- Example: “Your input helps us improve! This survey will take about 3 minutes to complete. Your responses are anonymous and will be used solely to enhance our services.”
Tips for Customization
- Keep the language in your description friendly but professional.
- Add specific instructions if necessary (e.g., “Please select one option per question.”).
Step 3: Add and Organize Survey Questions
Types of Questions
Google Forms offers a variety of question types to help you meet your survey needs. Click the plus sign in the right-hand toolbar to select your question type. Here are a few examples:
- Multiple Choice: Ideal for single-answer questions.
- Example: “How satisfied are you with our service?”
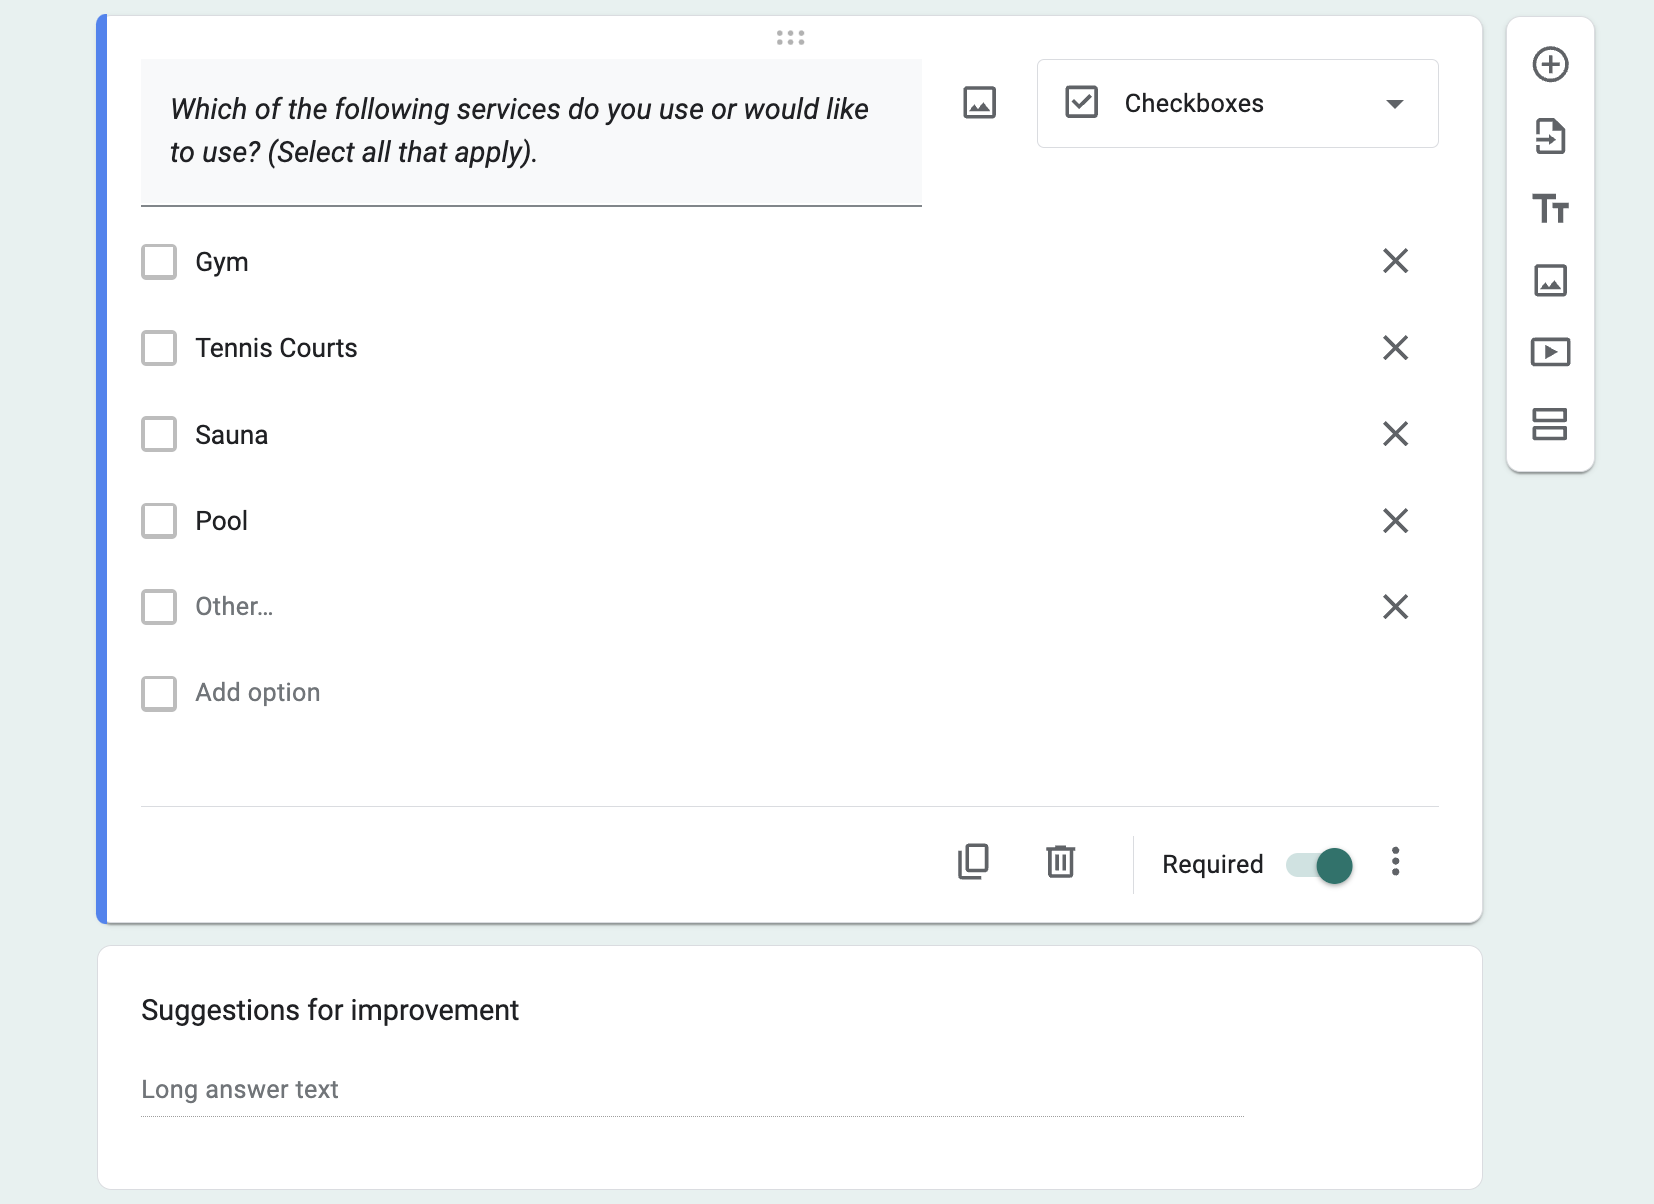
- Checkboxes: Use when respondents can select multiple answers.
- Example: “Which of the following services do you use or would like to use? (Select all that apply).”
- Dropdown: Compact and clean, perfect for long lists of options.
- Example: “Select your gender.”
- Linear Scale: Lets you measure attitudes or satisfaction levels.
- Example: “On a scale of 1 to 5, how likely are you to recommend us to friends or family?”
- Short Answer and Paragraph: Best for open-ended questions.
- Example: “What suggestions do you have for improvement you would like to see in the near future?”
Organizing Your Questions
- Group Questions into Sections:
- Example: Start with demographics (name, email, etc.), followed by specific questions about feedback or preferences.
- Use Conditional Logic: Direct respondents to specific sections based on their answers. For example, if they select “No” to a question, they can skip irrelevant follow-ups.
Step 4: Customize the Design
Google Forms provides customization tools to make your survey look professional:
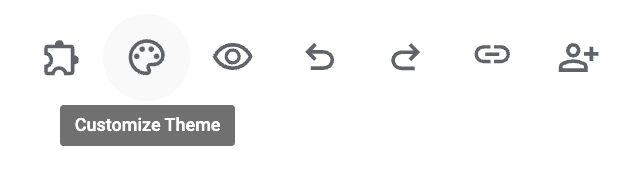
- Themes and Colors: Click the palette icon to select a color or theme that matches your branding.
- Logos and Images: For branding consistency, add your logo or visual cues.
- Example: Include a header image that reflects the purpose of the survey, such as an event banner or company logo.
- Fonts: Although the options are limited, choose a font style that is appropriate for your audience.
Step 5: Configure Settings
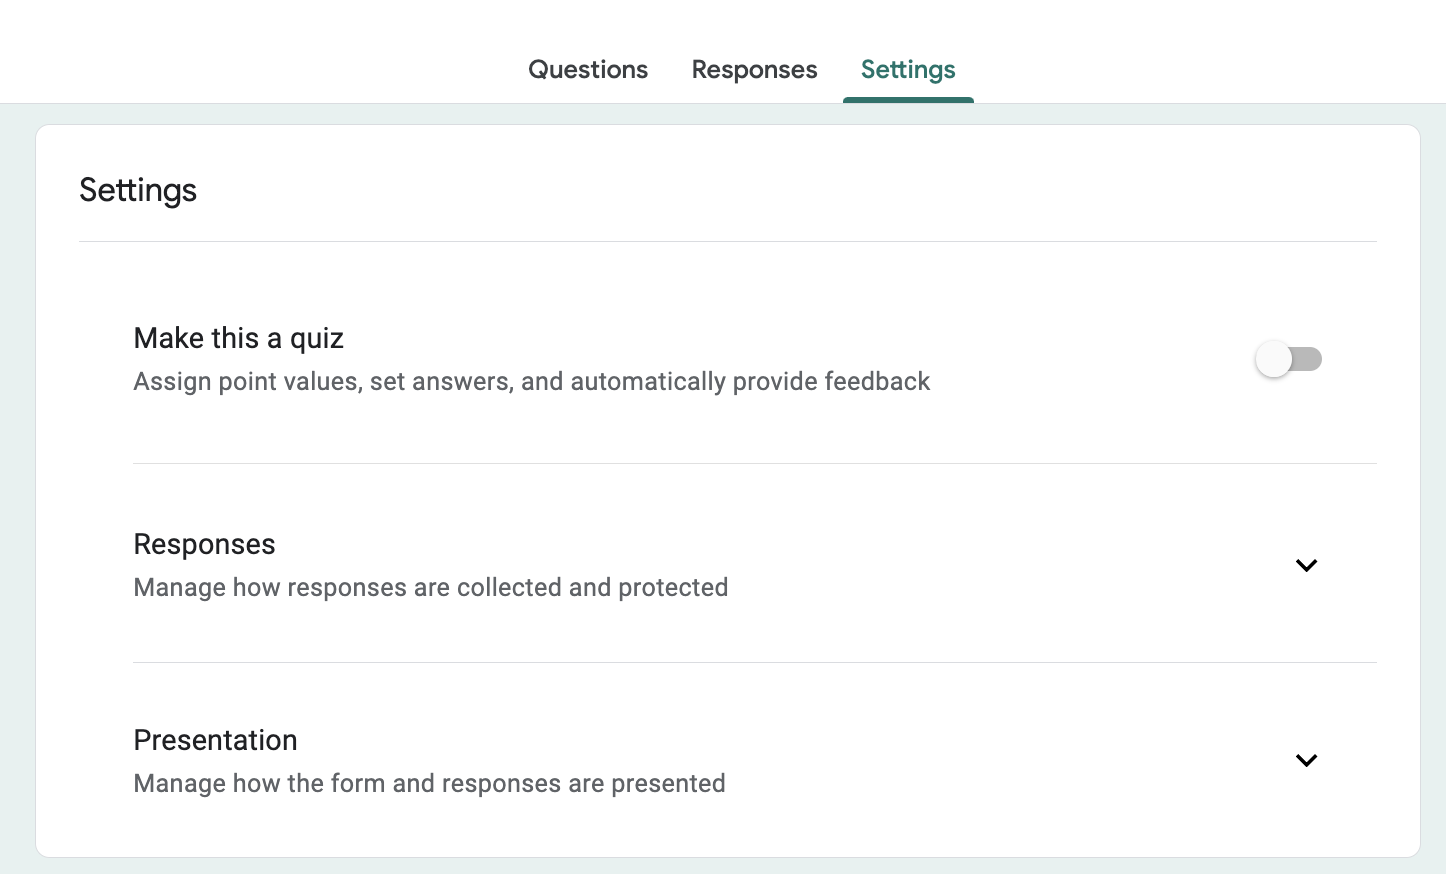
Fine-tuning survey options
- Make questions mandatory: Use the toggle to ensure that essential questions can’t be skipped.
- Control Multiple Submissions: Decide whether respondents can complete the survey multiple times.
- Response Validation: Add criteria for certain responses (such as numeric limits for age fields).
Advanced Settings
- Shuffle question order: Randomize the order of questions in quizzes or surveys.
- Progress Bar: Enable this to show respondents how much of the survey they’ve completed at every step.
- Confirmation Messages: Personalize the thank you message that respondents see after they submit.
Step 6: Share Your Survey
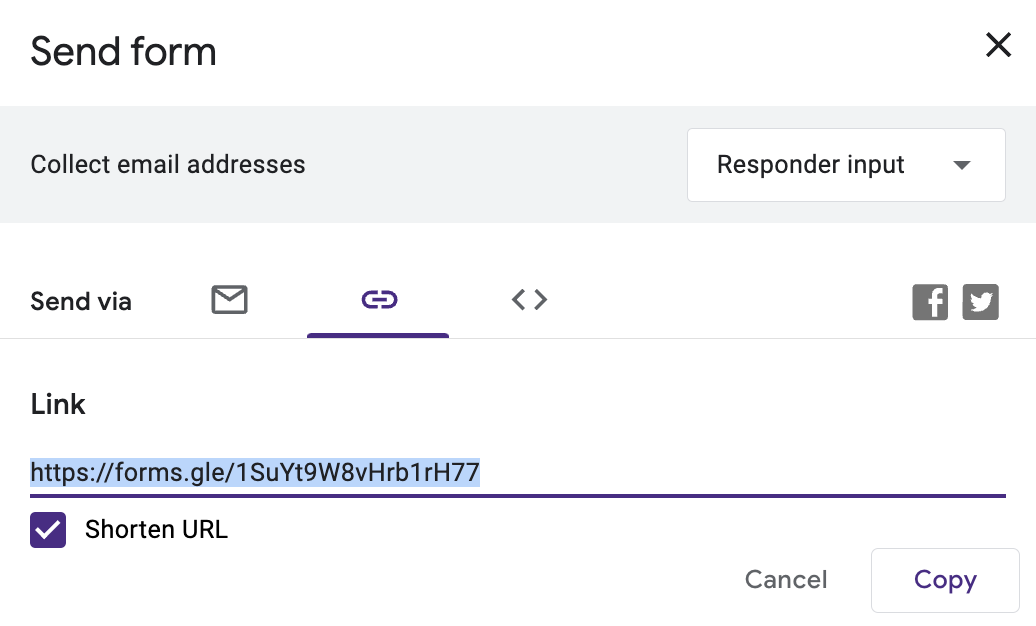
How to Share Your Survey
- Email: Send the survey directly via email with personalized messaging.
- Link Sharing: Use the shortened URL for easier sharing on social media or through messaging apps.
- Embed: Integrate the survey into your website for seamless interaction.
Maximizing Reach
- Post the survey on social media platforms or send it through newsletters to reach your audience.
- Use QR codes for offline distribution, such as posters, flyers, or event programs.
Read More: SurveyMonkey vs Google Forms
Step 7: Analyze Responses
Viewing and Exporting Data
- Responses Tab: Monitor results in real-time within Google Forms.
- Google Sheets: Export responses to Google Sheets for more in-depth analysis and visualization.
Tips for Analysis
- Look for trends and patterns in the data.
- Use filters in Google Sheets to segment responses based on demographics or other variables.
Why Consider An Alternative to Google Forms for Surveys?
While Google Forms is a good tool for basic surveys, software like Survey Monkey and Activity Messenger offer advanced features that can improve your data collection.
Benefits of Activity Messenger
- Multi-Channel Distribution: Send surveys via email and SMS to boost response rates.
- Automation: Schedule surveys to be sent automatically after classes, events, or programs.
- Custom Branding: Get fully customizable designs with full Canva integration to reflect your organization’s branding.
- Much more than Surveys: Combine surveys with registration forms, attendance tracking, and newsletters—all in one platform.
Learn more about how Activity Messenger compares to tools like SurveyMonkey in this blog post.
Comparing
Here’s a detailed comparison chart highlighting the key differences between Google Forms and Activity Messenger when it comes to surveys:| Feature | Google Forms | Activity Messenger |
|---|---|---|
| Ease of Use | Simple and interface for creating surveys. | User-friendly with additional features |
| Customization | Limited customization for themes, fonts, and branding. | Advanced branding options with custom logos, colors, and full Canva integration. |
| Question Types | Offers basic question types (multiple choice, dropdown, short answer, etc.). | Offers more advanced survey question and conditional branching |
| Distribution Methods | Share via email, link, or website embed. | Send surveys via email, SMS, or embed on websites; allows multi-channel distribution for higher reach. |
| Response Tracking | Responses are stored in Google Forms or exported to Google Sheets. | Tracks responses directly in the platform with detailed analytics; integrates responses with attendance or class data. |
| Automation | No automation for follow-up or recurring surveys. | Automates survey distribution (e.g., post-event surveys or reminders). |
| Integration | Integrates with Google Workspace and other tools | Integrates with registration forms, newsletters, and payment processing tools like Stripe. |
| Real-Time Analytics | Basic response overview; requires exporting for advanced analysis. | Advanced reporting and analytics built-in, with real-time insights. |
| Audience Engagement | Relies on respondents clicking links; no built-in SMS option. | Combines email and SMS to improve response rates and engagement. |
| Cost | Free to use for most features | Paid plans tailored to small and medium-sized organizations |
| Best For | Individuals or small teams needing basic survey functionality. | Organizations needing professional, branded surveys with automation and multi-channel distribution. |
Key Takeaways:
- Use Google Forms for simple, cost-effective surveys with minimal customization or advanced needs.
- Choose Activity Messenger if you need tailored solutions for your organization, professional branding, or automation to streamline your workflows.
Conclusion
Google Forms is a quick and easy solution for creating surveys, but as your needs evolve, platforms like Activity Messenger or Survey Monkey offer advanced features to create a better survey experience and smarter data analysis.
You can start small, but don’t hesitate to upgrade when you’re ready to streamline and scale your workflows!
Book a demo call with a Activity Messenger expert.