Resources (locations and staff)
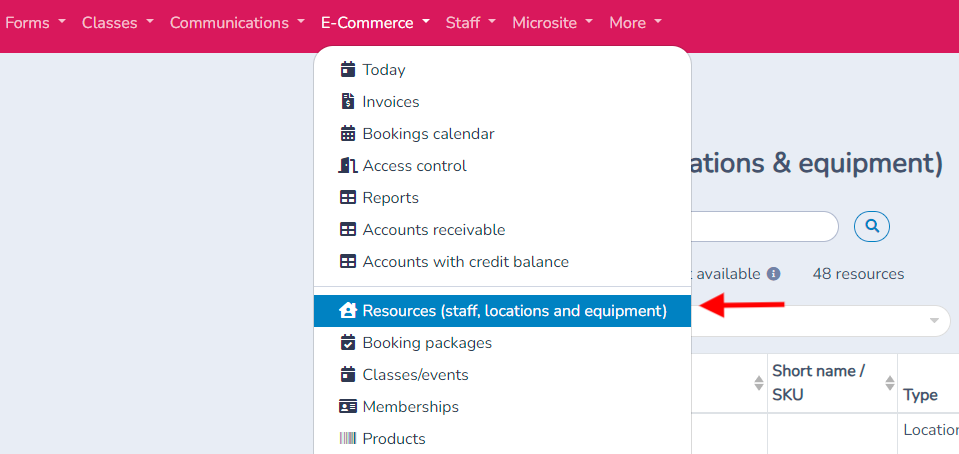
Create a resource for each place, staff member or piece of equipment whose schedule you need to manage. Keep separate courts or rooms as separate resources so their availability can be tracked individually. Start under E-Commerce → Resources.
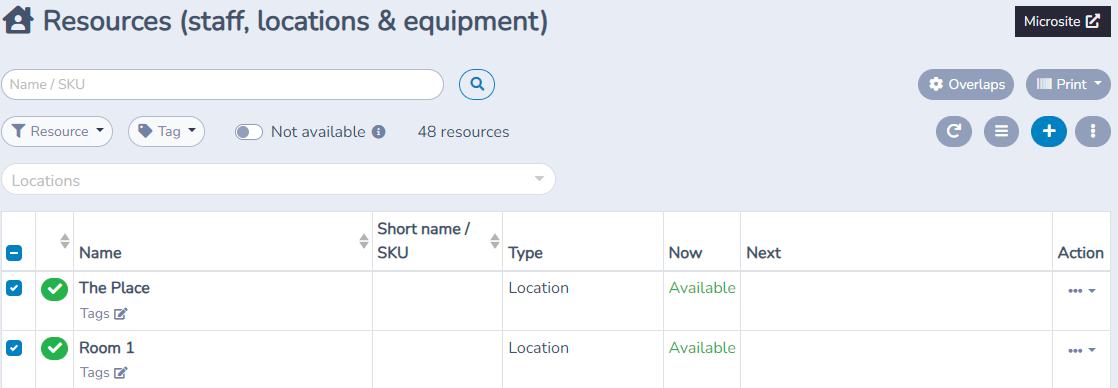
The resources table allows you to add, modify, and organize your resources using tags.
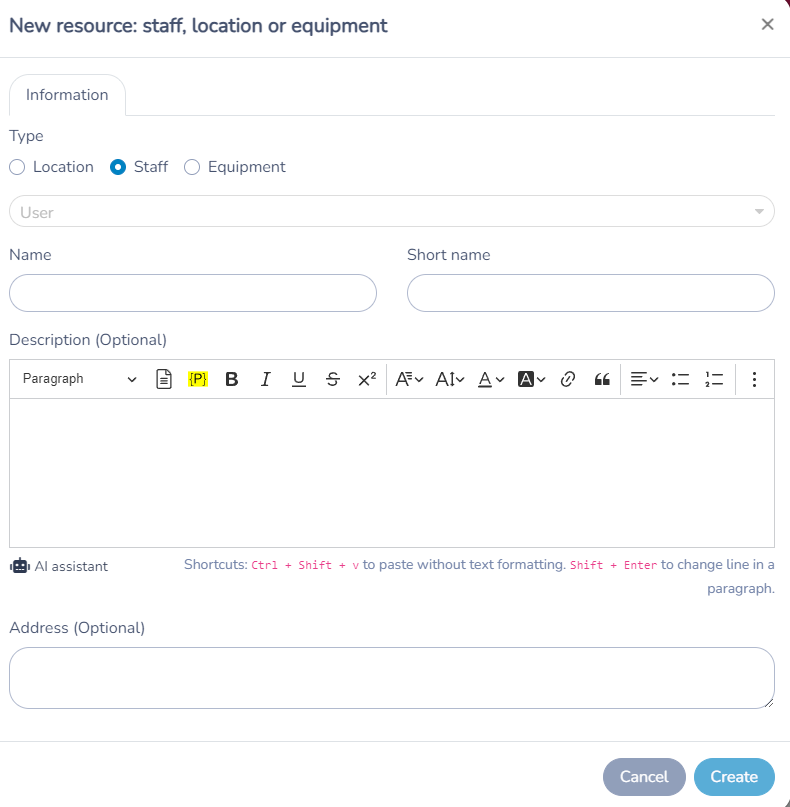
Click the (+) button to add a resource.
Venue:
A venue resource can be a room, field, or any other location. This clearly indicates where courses take place and ensures that locations are not double-booked. A venue can have an address, which will be used to generate the Google Maps image if you link the venue to a payment form.
Staff:
Select the person from the list of instructors you have granted access to the platform. Fill in the necessary information (name, description, address if needed, image). This ensures that a person cannot be double-booked.
Equipment:
An equipment resource can be a bike, projector, or any other material. Fill in the necessary information (name of the equipment, purchase date, value, image if needed). This ensures that equipment cannot be booked by two people at the same time.
Booking and tracking
When you create a course or event, you can add the necessary resources (staff, venues, equipment) to avoid booking conflicts.
Ensure that the resources are not already booked for other courses or events.
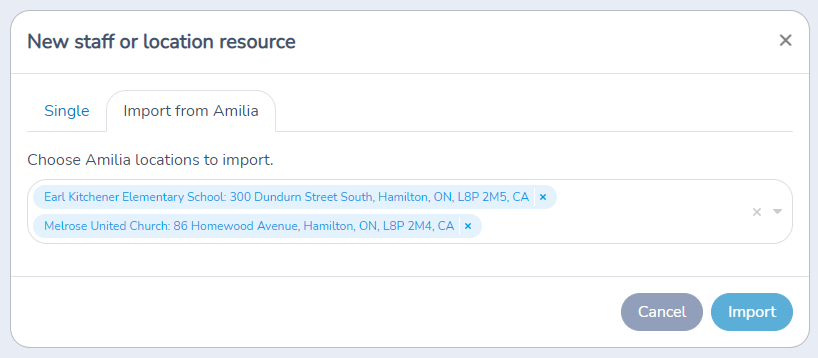
Importing from Amilia
If your Activity Messenger organization is connected to Amilia, you can import locations from Amilia.