Activity Messenger Help Center
Online Store
Sell products through a Microsite shopping cart, with a checkout form, payment choices and confirmation messages. Prepare the products first, then configure what clients can see and how they can pay. Staff-assisted checkout is described below; the dedicated Point of Sale has its own guide.
Microsite
The Online Store runs in your Microsite on a dedicated page. In addition, you may have multiple stores, one per page. We provide you with a default store where most settings will apply to other stores you create.
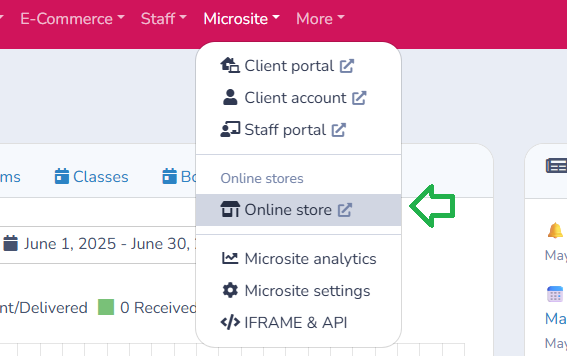
Your Online Store is available in the Microsite menu.

Once on the Online Store in the Microsite, click on the Design mode button to add and modify merchandise in your store.

Products can be categorized using tags. From the Admin portal, click on the E-Commerce menu, and choose option Products to create and assign tags, and to further organize your Online store. Click on the Microsite button to test your Online store.
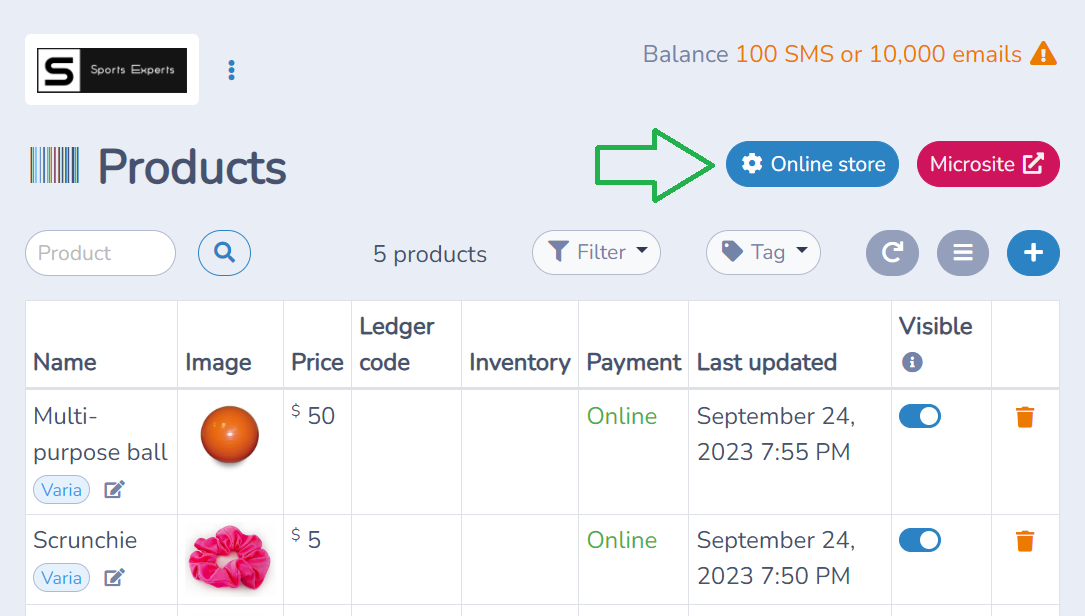
From the admin portal you can configure your Online store by pressing on the button with the cog icon.
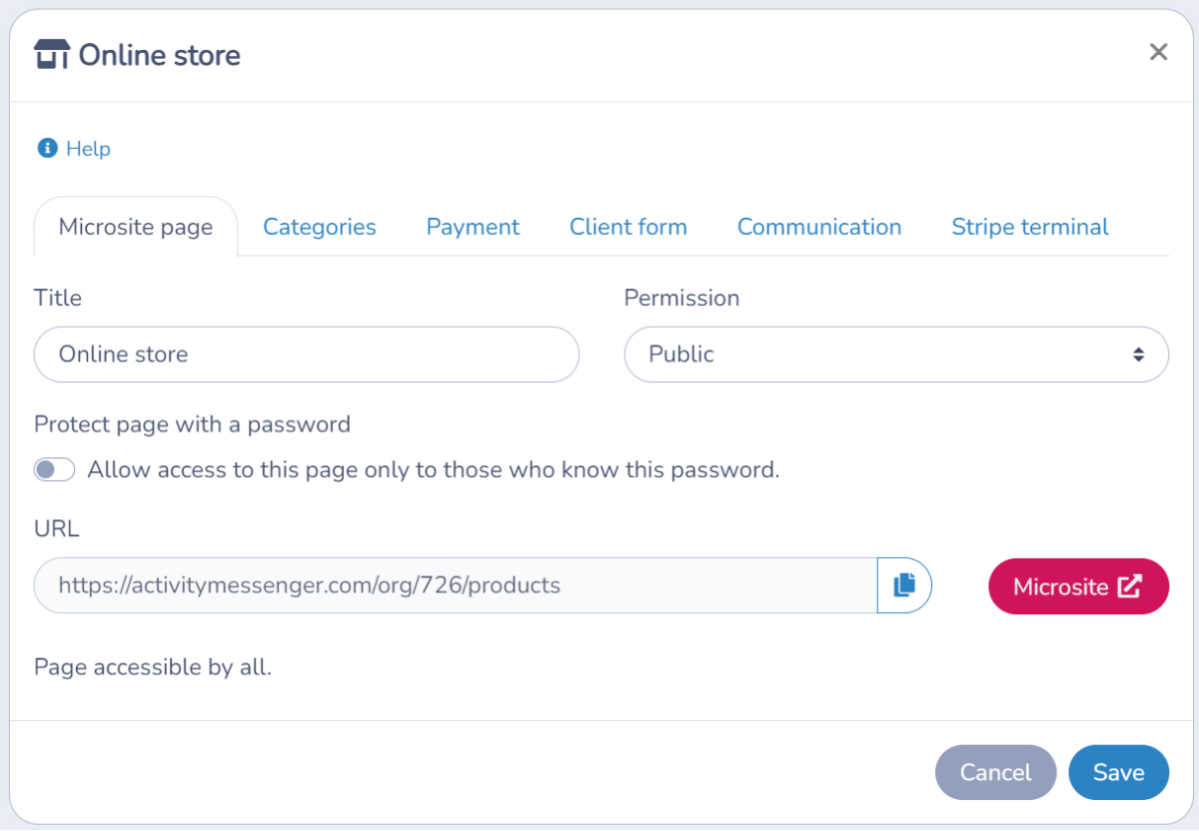
On the Microsite page tab you can change the name of the store or page. You can also change the permission to access the page. For example, only grant access to people with a password. Consult the Microsite page properties to find out more.
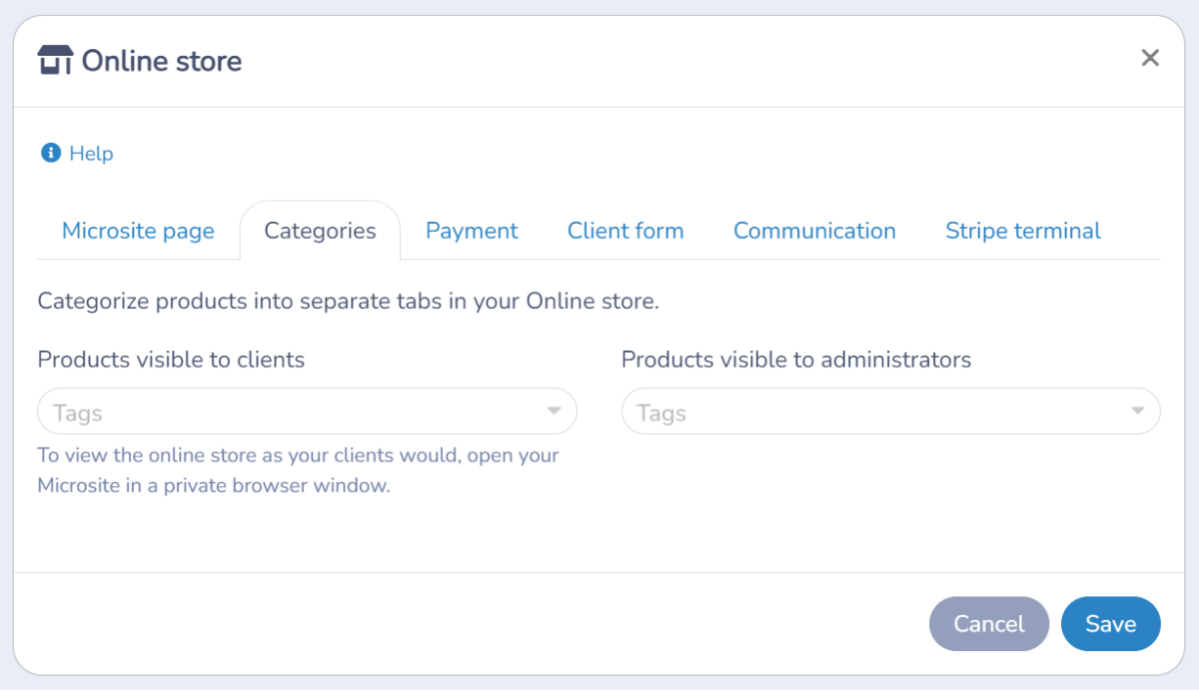
The Tags (categories) tab allows you to define which categories (identified by tags) are visible to clients and administrators. You can for example allow admins to sell more merchandise in person and keep them hidden from clients.
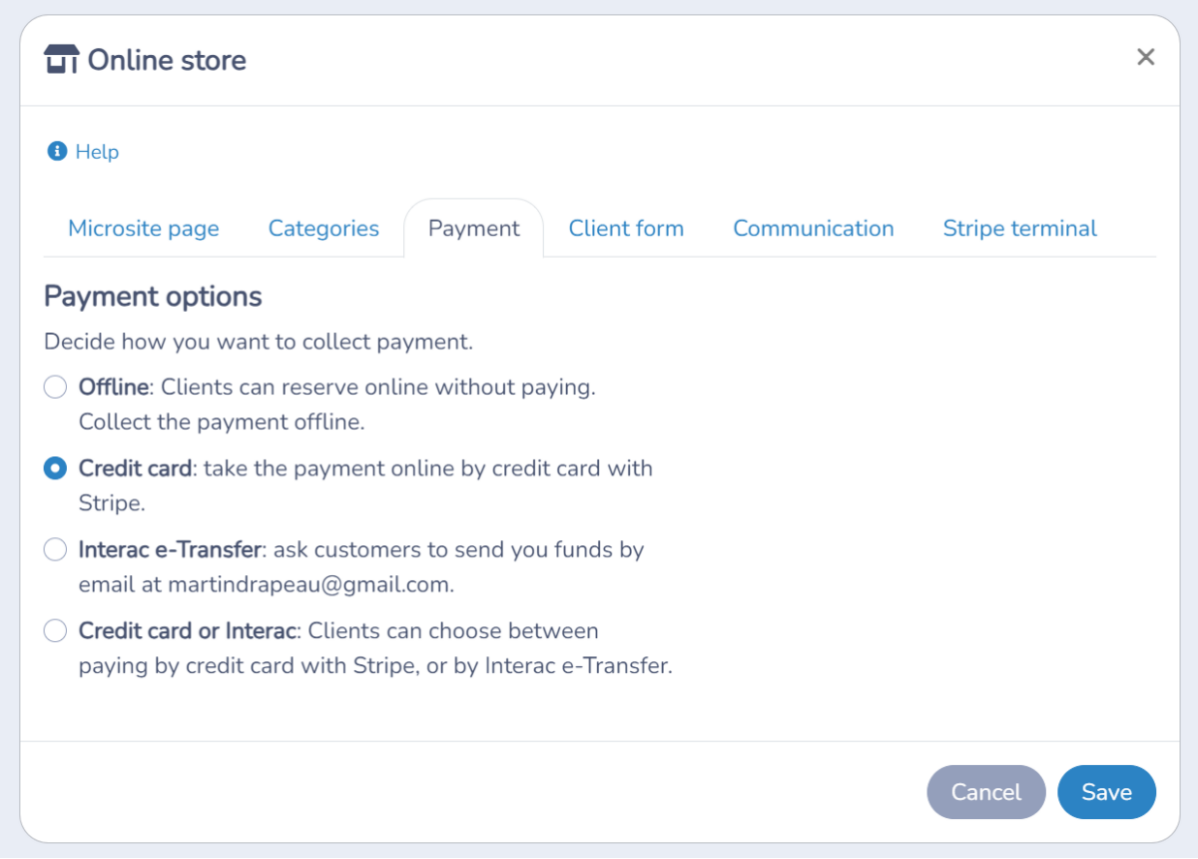
The Payment tab allows you to specify payment methods clients can use to purchase online. If you keep Offline, they will need to pay in person. If you set to Credit card, they will pay via Stripe. In Canada, you can take Interac E-Transfers.
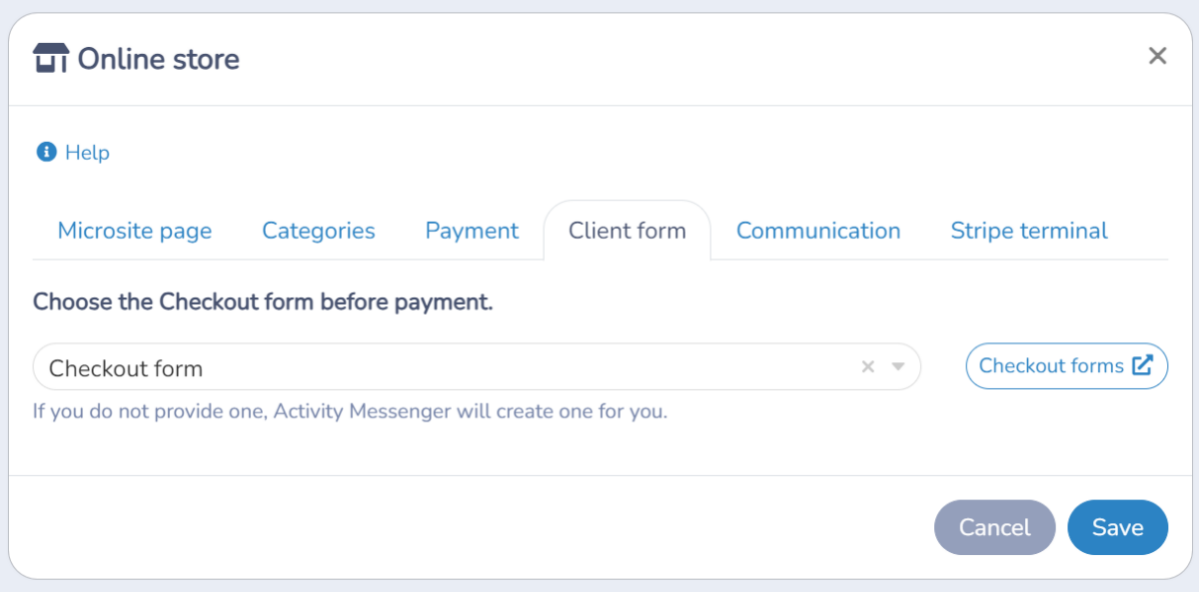
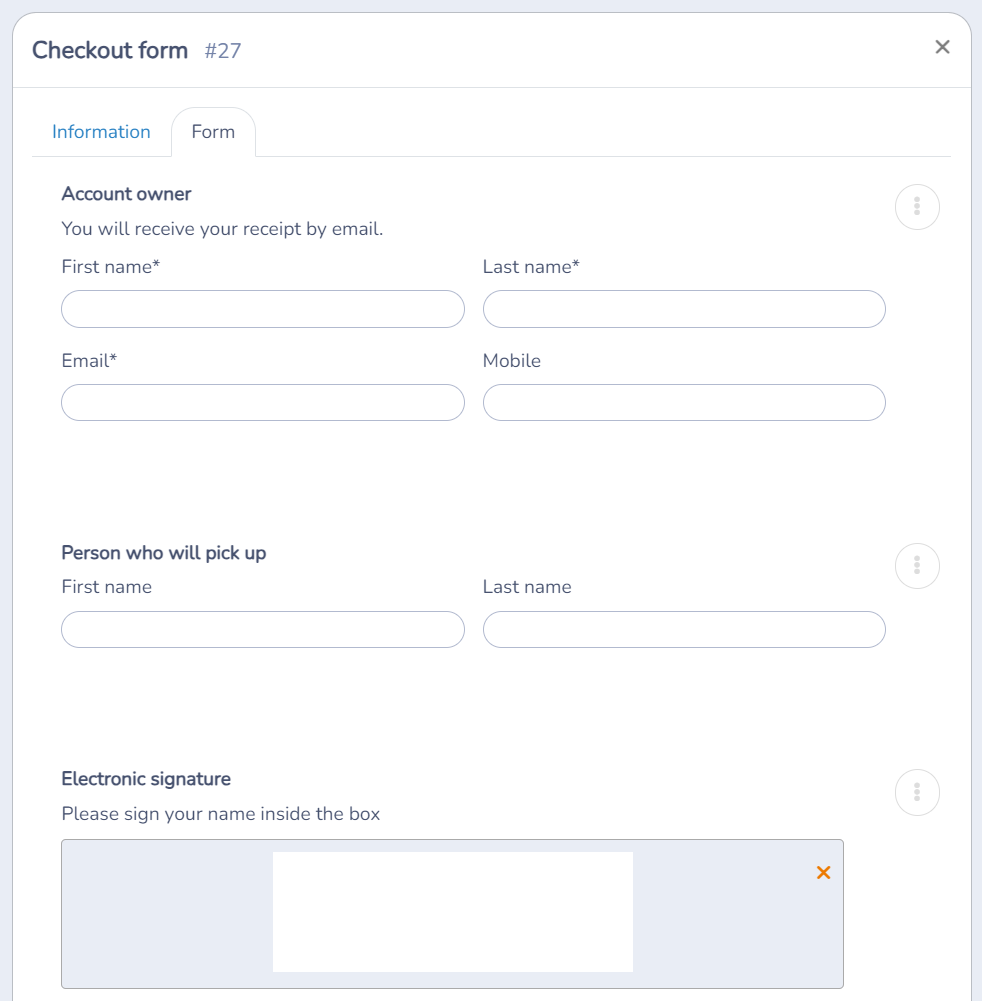
The Client form tab allows you to configure the checkout form. It is presented before payment to capture the account owner's name and email, along with any other type of information you required. For example a consent with electronic signature.
Checkout forms can be accessed by clicking on the E-Commerce menu, and choosing option Checkout forms. You may configure multiple checkout forms and use them for different merchandise. Checkout forms are very similar to Payment forms but are dedicated to the cart checkout of your Online store. Note that during checkout, only one form will be presented to the client.
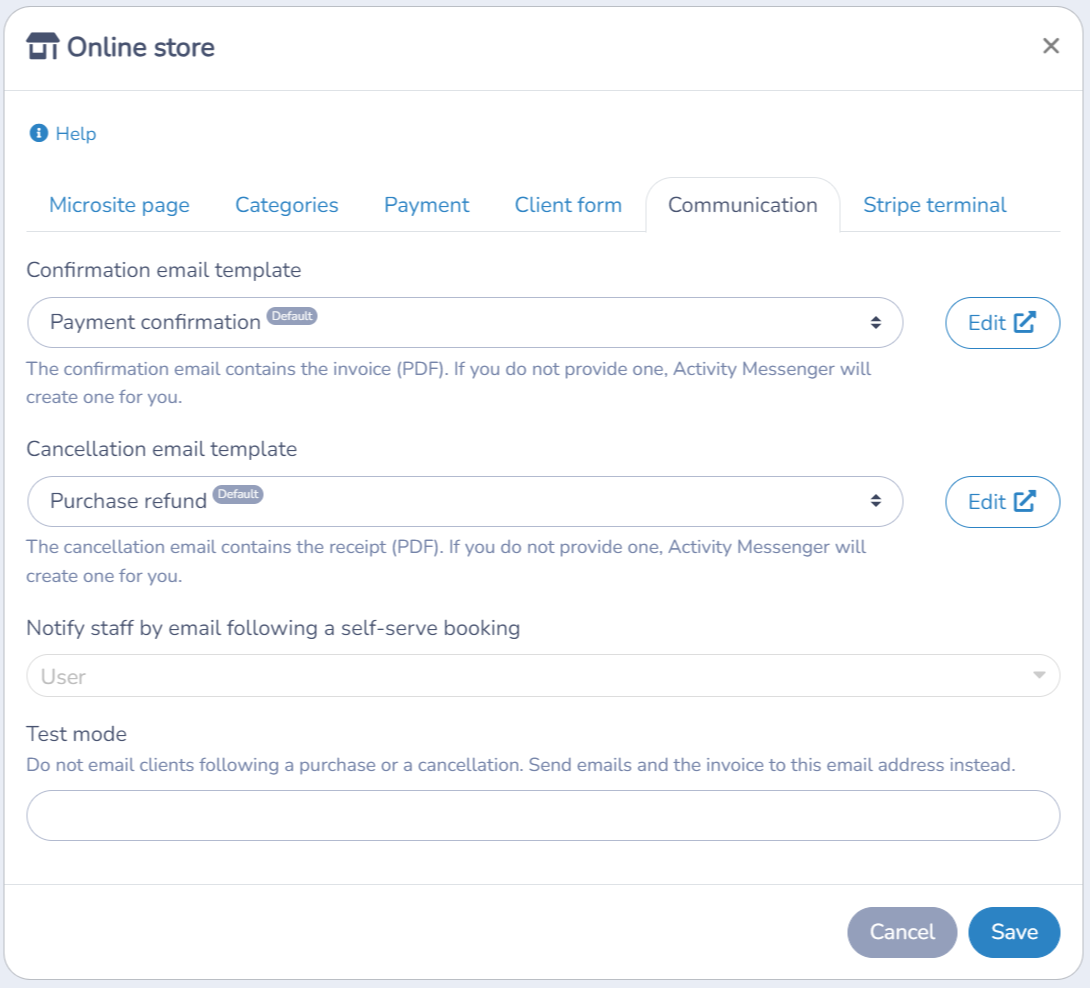
The Communication tab allows you to configure the confirmation email template that will be sent to the account owner after purchase. You can also configure the cancellation template in case of a refund. Consult the Templates help pages to find out more.
Activity Messenger can notify you or other administrators when a purchase is made. While you build your online store and test it, you may force Activity Messenger to send confirmation and cancellation emails to a specific address.
The Stripe Terminal allows you to link up Stripe Readers to take in person payments. Consult the help page Stripe Terminal to learn more.
Client purchase experience: Cart and Checkout

Your Online store is just like a traditional E-Commerce store. Clients add merchandise to a shopping cart and then proceed to checkout. The checkout process consists of 4 steps:
- Shopping cart
- Your information (checkout form)

- Payment
- Confirmation
Before the last payment step, the checkout form is presented to the client.
Administrator
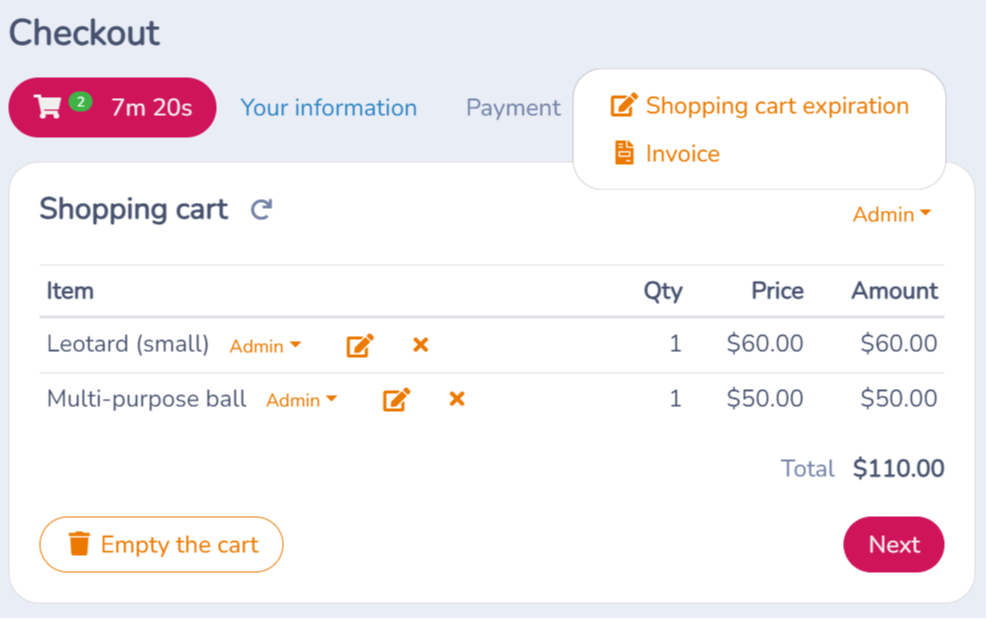
Administrators have extra functionality on the Online Store. The shopping experience is the same as clients however there are additional orange buttons and actions in each checkout steps.
On the Shopping cart step the administrator can modify the cart item prices, change the cart expiration time and preview the final invoice.
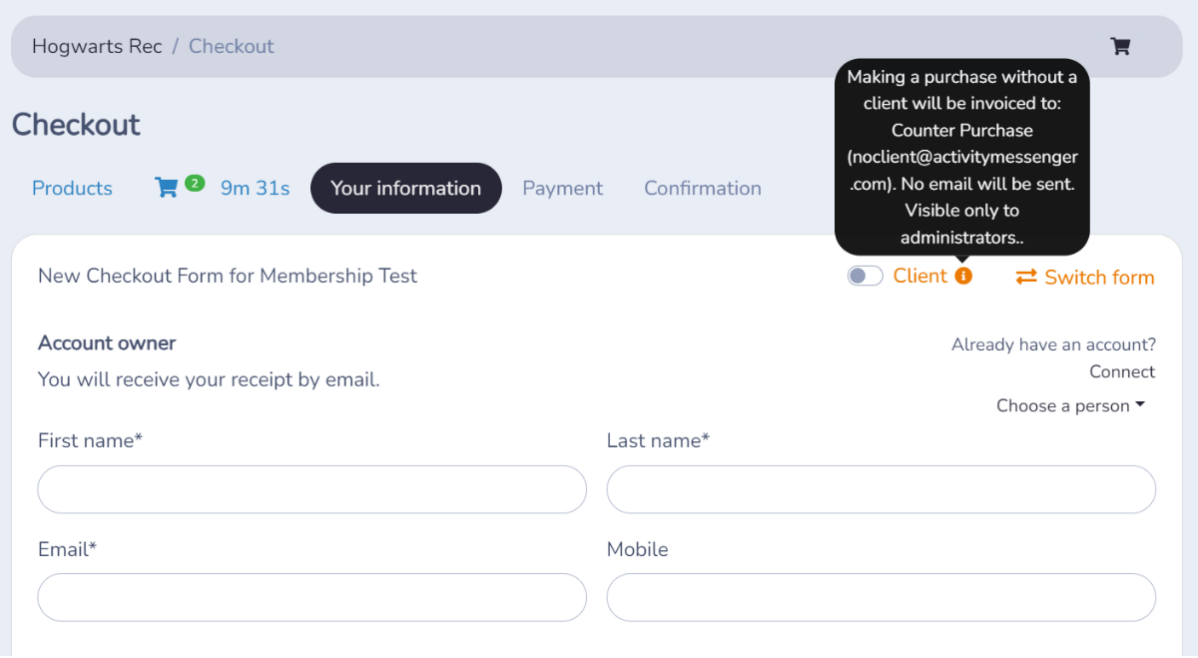
On the Your information step the administrator can toggle the Client switch to bypass the checkout form by making a Counter purchase. Useful when capturing the name and email address is not pertinent. They can also switch to another checkout form to capture different information.
Or, they can choose a client from their database to make a purchase on their behalf.
On the Payment step, the admin can choose another payment method. For example to take cash or allow the client to pay later.
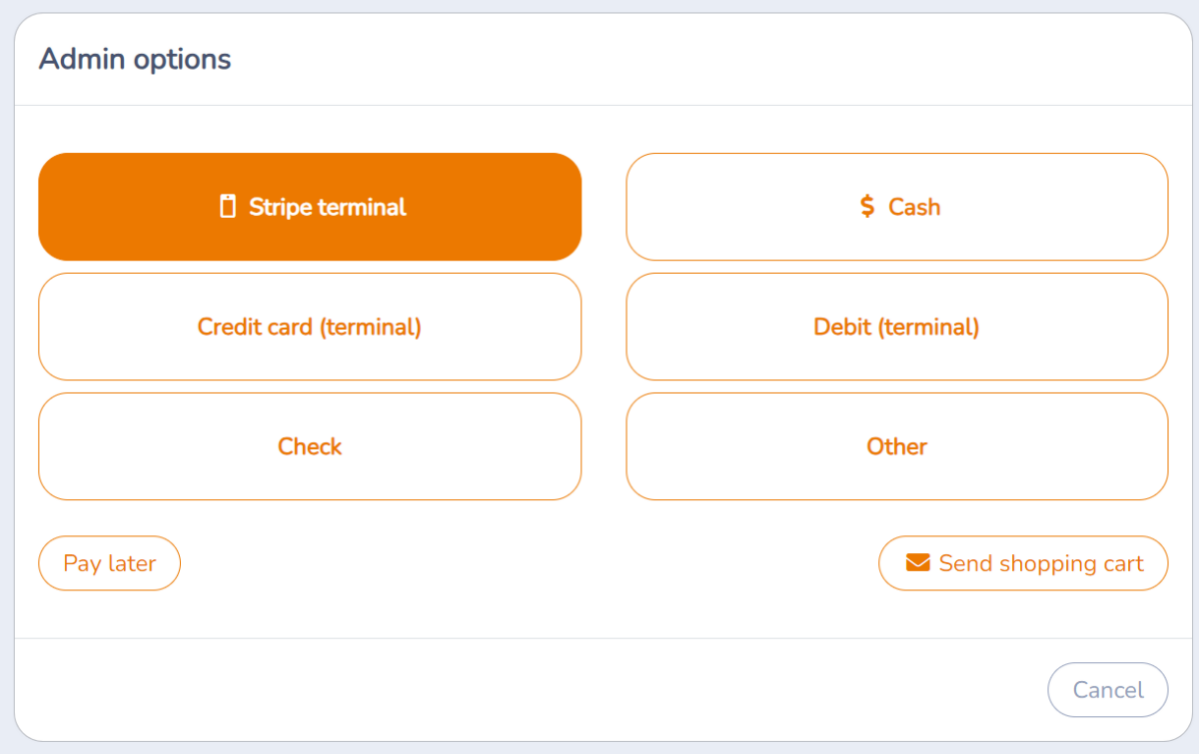
If you have set up a Stripe Terminal, the administrator can take payments by credit/debit card in person.
Finally, on the Confirmation step the administrator can email an electronic invoice to the client.
Settings reference
| Setting | Where | Default | Effect |
|---|---|---|---|
| Title | Online store window (cog button) › Microsite page tab | Name of the store page (required) | The name of the store page. |
| Permission | Online store window › Microsite page tab | Public | Who can open the page: Public, Client, Member, Admin or Hidden. Hidden removes the link from the menu but the page stays reachable by anyone with its address; Admin limits it to administrators. |
| Protect page with a password | Online store window › Microsite page tab | Off | Only people who know the password can open the page. Design mode never asks for the password; exit design mode to test it. |
| Tags (categories) › Products visible to clients | Online store window › Tags (categories) tab | None selected | Products carrying the chosen tags appear to clients, as separate tabs in the store. |
| Tags (categories) › Products visible to administrators | Online store window › Tags (categories) tab | None selected | Products carrying the chosen tags appear to administrators. If neither list has a tag, every product is visible in this store. |
| Payment | Online store window › Payment tab | Credit card when Stripe or Moneris is set up, otherwise Offline | How clients pay in the store: Offline (in person), credit card, Interac e-Transfer or a combination. There is no deposit option here. |
| Client form | Online store window › Client form tab | None, so Activity Messenger creates one | The checkout form shown before payment. Manage forms under Checkout forms. |
| Counter Purchase: Admins purchases are counter purchases by default. Do not require a client. | Online store window › Client form tab | Off | Lets administrators check out without a client. The purchase is invoiced to a generic no-client account and no email is sent. |
| Confirmation email template | Online store window › Communication tab | None, so Activity Messenger creates one | The email sent after a purchase, with the invoice PDF attached. |
| Cancellation email template | Online store window › Communication tab | None, so Activity Messenger creates one | The email sent after a refund, with the receipt PDF attached. |
| Notify staff by email following a booking | Online store window › Communication tab | No one | Emails the selected users when a purchase is made. |
| Test mode | Online store window › Communication tab | Empty (off) | When an email address is entered, confirmation and cancellation emails and the invoice go to that address instead of the client. A "Test mode is ON" warning shows while it is set. |
| Stripe terminal | Online store window › Stripe terminal tab, when Stripe is connected | Not applicable | Manage terminal locations, tipping, the reader splashscreen and readers. Changes are saved automatically. |
| Show Stripe Terminal on the payment page for administrators | Stripe terminal tab | No | Shows the Stripe Terminal option when an administrator takes payment. |
| Attendants can pay a product later | Organization settings › Payments › Microsite online store | Off | Lets an attendant complete a store purchase for a client without taking payment. |
Common questions
Can I have more than one online store? Yes. The default store is configured from E-Commerce › Products, and you can create alternate online stores as Microsite pages, for example a merchandise store for clients and a point of sale only administrators can open. See Microsite.
How do I show only some products to clients? Give the products tags, then choose those tags under Products visible to clients in the Tags (categories) tab. Each tag becomes a tab in the store. If no tag is selected for clients or administrators, every product is visible. See Microsite.
Can I let administrators sell products clients cannot see? Yes. Select tags under Products visible to administrators that are not in the clients list. Open your Microsite in a private browser window to check what clients see. See Microsite.
Can clients pay later in the store? Yes, when Payment is set to Offline: clients complete the order and pay in person. With credit card or Interac payment they pay at checkout. When an attendant buys on behalf of a client, Attendants can pay a product later lets them skip taking payment. See Microsite.
How do I test purchases without emailing clients? Enter your email address in Test mode on the Communication tab. Confirmation and cancellation emails and the invoice are then sent to that address until you clear it. See Microsite.
Can an administrator sell without choosing a client? Yes, as a counter purchase: turn on the counter-purchase option in the Client form tab, or toggle the Client switch at checkout. The purchase is invoiced to a no-client account and no email is sent. See Administrator.
Can I protect the store with a password? Yes. Turn on Protect page with a password in the Microsite page tab and set a password. Anyone without it cannot open the page. See Microsite.
Can a product use a different checkout form? Yes, a product can have its own Client form in its Microsite tab; otherwise the default checkout form from the store settings is used. Only one form is shown during checkout. See Client purchase experience: Cart and Checkout.