Activity Messenger Help Center
Create a class or event
Create the activity and its schedule before opening registration. The class stores the dates, location and capacity; a form supplies the registration and payment workflow. Check the activity’s settings here, then link it to your registration form.
A course or event refers to any activity that takes place either as a one-time occurrence, recurring, over a session, or throughout the year. It is the foundation of your system. Subsequently, your forms will incorporate these courses, allowing participants to register and be added to the attendance list for these courses/events.
To begin, click on Courses in the menu at the top of the page.
Navigate to All Courses and Events.

Locate the + button at the top right of the page.
Click on Add.
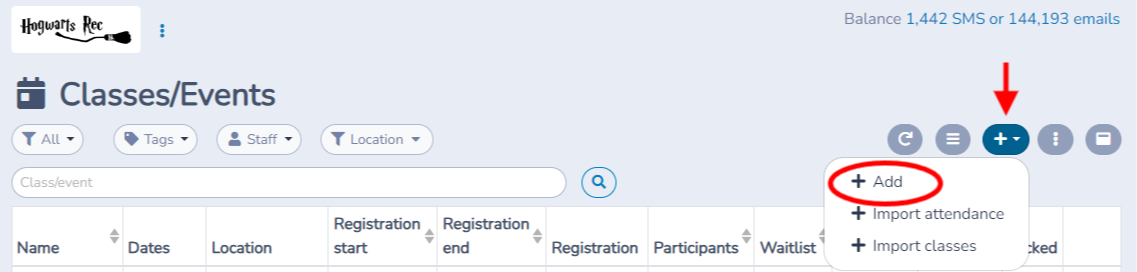
A new window will open where you can fill in all the details related to this course or event.
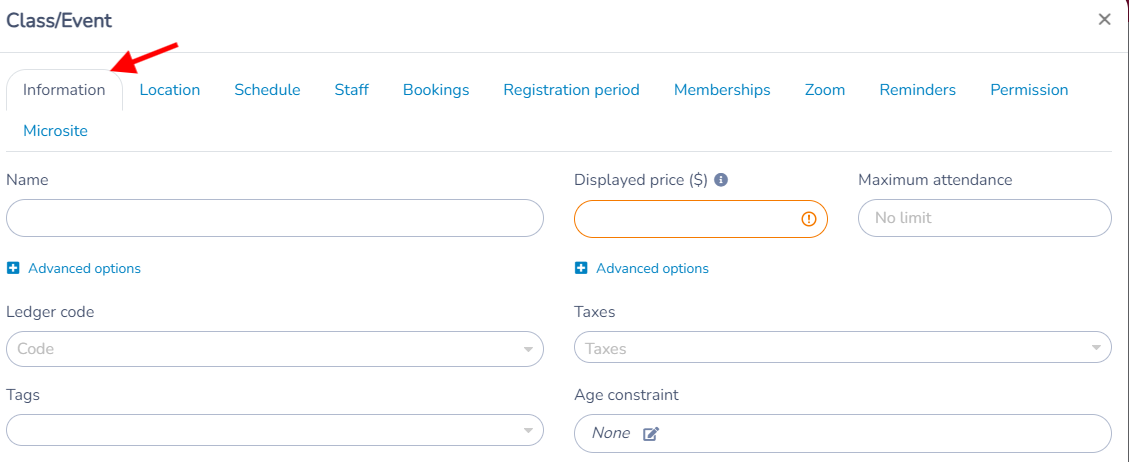
Information
- Enter the course name, displayed price, and a price per participant.
- You can limit the maximum number of participants and enable a waitlist if necessary.
- Add taxes and accounting codes if required.
- Create labels to make it easier for you to find your courses and help your clients during registration.
- Add age restrictions that will apply during registrations.
- Track the check-ins and check-outs of participants.
- Click Advanced options under the class or event name to add a Subtitle (for example, “Advanced level”). The subtitle is shown under the class name on registration forms and in the Class tabs website section; see Subtitle and session themes below. You can also set a Calendar display name, a shorter name for calendar views.
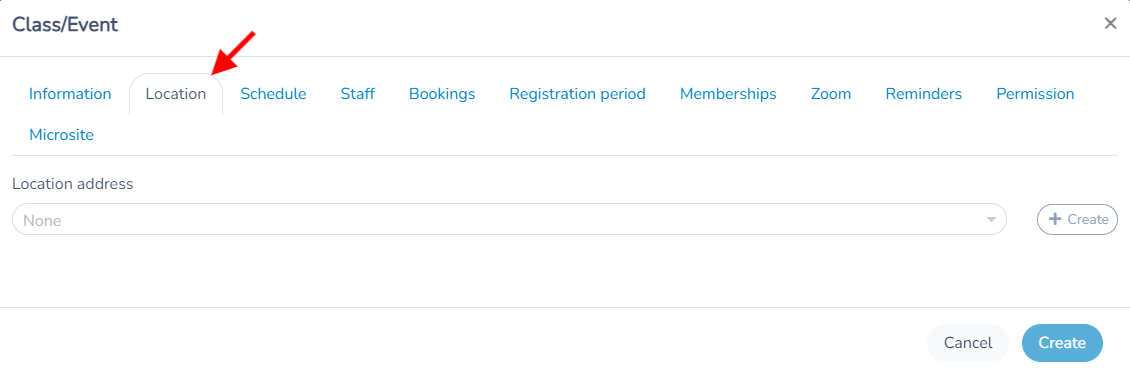
Location
Add an address, a description, an image and display the map.
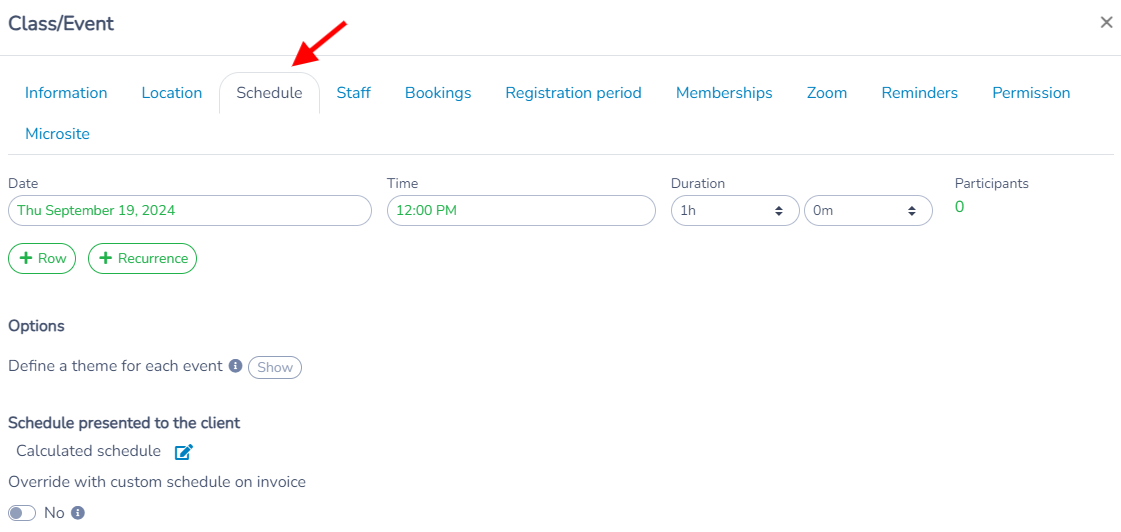
Schedule
- Set up the dates and times for your courses and events.
- Create recurring schedules for your weekly courses.
- You can modify the times for all courses with a single click by pressing Edit All Times and Durations.
- You can also add a Theme for each date: click Show next to Define a theme for each event. This is a separate field from the class Subtitle and can be displayed on the invoice; see Subtitle and session themes below.
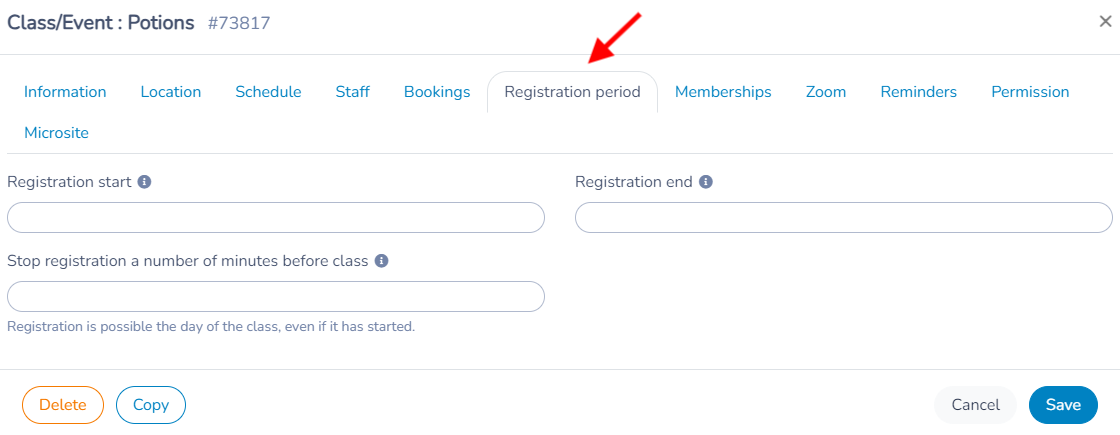
Registration period
- Set registration opening and closing dates.
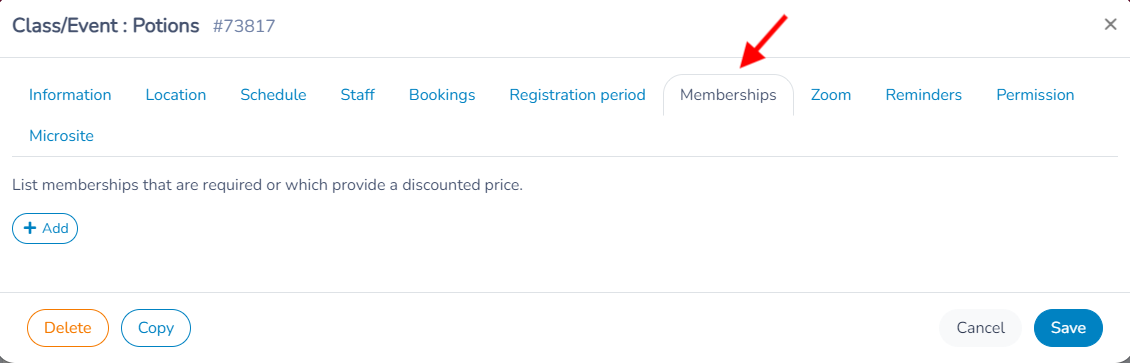
Membership
- When a membership is created, it is possible here to determine if the membership is required to access the course and if membership members have reduced rates.
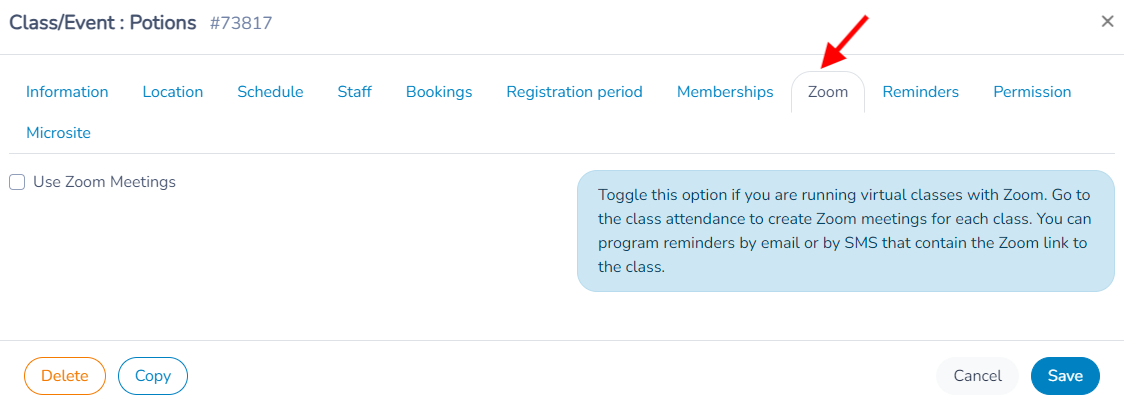
Zoom
- Link your classes with Zoom for webinars or online classes.
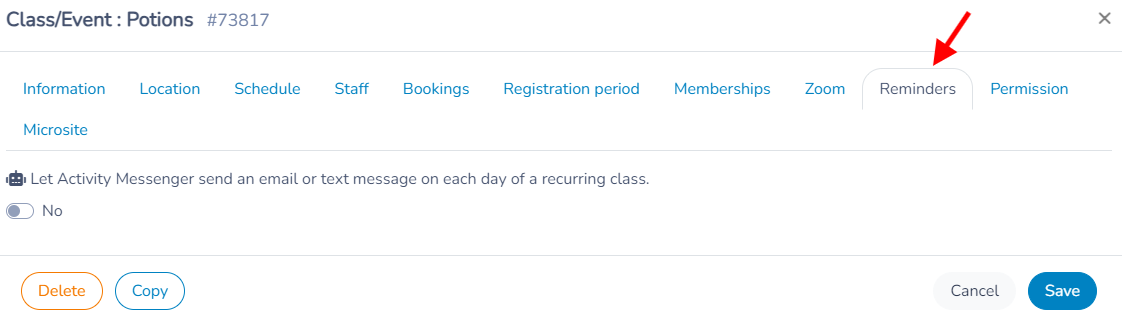
Reminders
- Send reminders to registered participants before classes via email or SMS.
- Send a specific message to participants after classes.
- Choose the date and time to automatically send reminders.
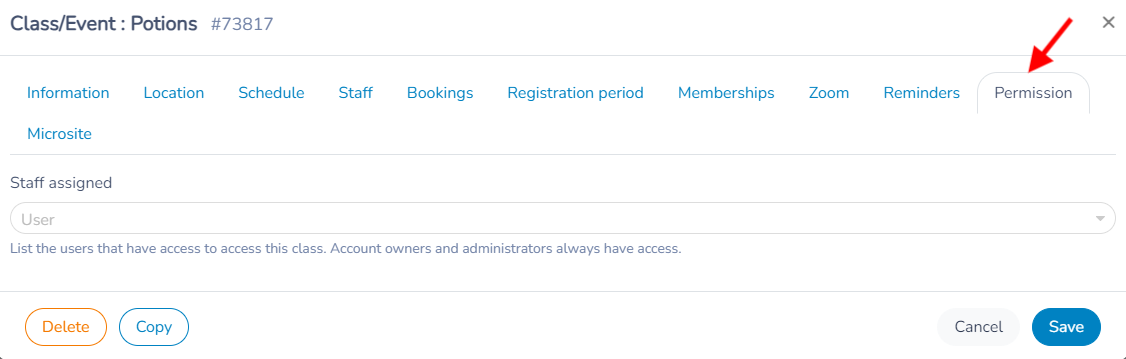
Permission
- Add staff members who will have access to attendance lists.
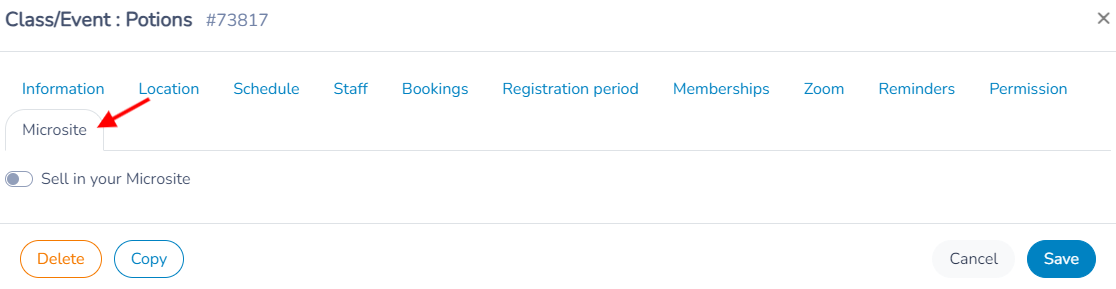
Microsite
- You can choose to display the course or event on your microsite.
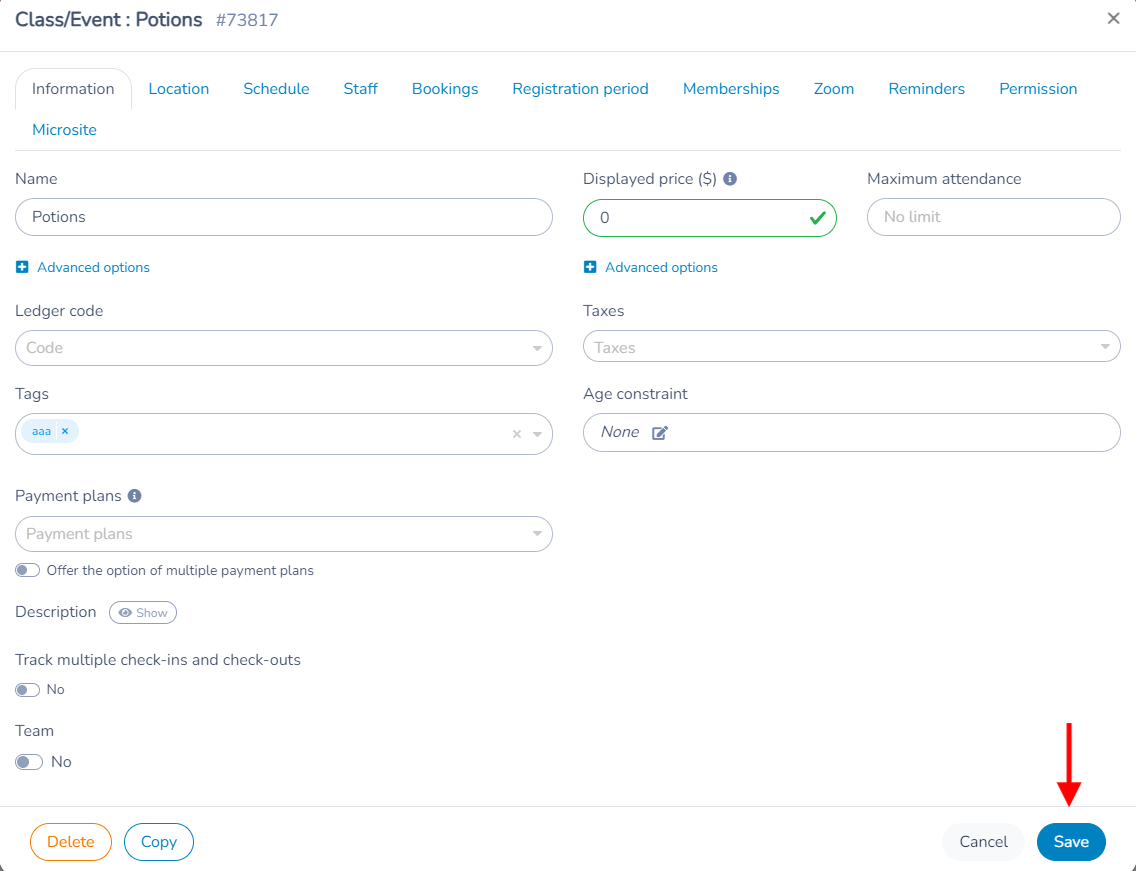
Save
- Tap Create to save your changes. It is possible to return to the course later to make changes.
Subtitle and session themes
The class Subtitle and the per-date Theme are two different fields. Use the subtitle to describe the class as a whole (a level, an age group, a short tagline) and a theme to describe what happens on one date (useful for drop-in classes where every date is different).
Subtitle (one per class)
- Open the class and stay on the Information tab.
- Click Advanced options under the Name field. The panel opens by itself when the class already has a subtitle or another advanced value.
- Type the Subtitle and save the class.
Where clients see the subtitle:
- On the registration form, under the class name of the class question. This works on the public form and in the form preview.
- In the Class tabs website section, under the class name of the selected tab.
Where the subtitle is not shown: calendars use the Name or the Calendar display name, and invoices and other website sections do not print the subtitle.
The registration form can override the class subtitle. Open the class question in the form editor: the Display card has its own Subtitle field. When it is filled, it replaces the class subtitle on that form only; when it is empty, the class subtitle is used. The Show description after subtitle switch in the same card moves the class description directly under the subtitle.
Theme (one per date)
- Open the Schedule tab of the class.
- Next to Define a theme for each event, click Show. A Theme column appears on every date row. Once at least one theme is saved, the column stays visible and the Show button disappears.
- Type a theme on the dates that need one and save the class.
Administrators can also edit one date's theme from the calendar: open the occurrence, and the line that reads No theme or the current theme offers an Edit button.
Where the theme appears:
- On the registration form, after the date and the remaining spots of each occurrence.
- On the invoice, after each date in the class schedule, unless Override with custom schedule on invoice is on for the class.
- In the admin class calendar, after the class name, and in the bookings calendar when Show theme is enabled.
- In the website calendar section, under the class name of each occurrence.
Before changing an existing class
A class can be linked to more than one form. A schedule or capacity change can affect all of them. Open each relevant form after saving and check its registration rule, price override and offered dates. Use tags in the class list to organize activities; use the dedicated duplication or bulk-operation tools when preparing a new session.
Settings reference
| Setting | Where | Default | Effect |
|---|---|---|---|
| Name | Classes › class › Information tab | Empty | The class name shown on forms, calendars and invoices. |
| Subtitle | Classes › class › Information tab › Advanced options | Empty | Shown under the class name on registration forms and in the Class tabs website section. A Subtitle entered in the form's class question (Display card) replaces it on that form. |
| Calendar display name | Classes › class › Information tab › Advanced options | Empty (the Name is used) | Replaces the class name in calendar views. |
| Notify administrators when class is full | Classes › class › Information tab › Advanced options | Nobody | Emails the chosen administrators when the class is full. |
| Registration password | Classes › class › Information tab › Advanced options | Empty | Participants must enter this password before they can register for this class on any form. |
| Displayed price ($) | Classes › class › Information tab | Empty | Price shown to clients. Set to 0 to display Free. A membership or a payment form can override the sell price. |
| Maximum attendance | Classes › class › Information tab | No limit | Caps registrations for the class. |
| Pro-rata price | Classes › class › Information tab › Advanced options | Empty | Amount removed from the displayed price after every class that has already taken place. In a Multiple classes block, pro-rata must also be enabled in the applicable form rule. |
| Price per event | Classes › class › Information tab › Advanced options | Empty | Price for one event, used when the form question's price rule is set to one event. |
| Maximum attendance per session | Classes › class › Information tab › Advanced options | Empty | Separate cap for session registrations when the price rule is "Price is for all events"; the class Maximum attendance does not apply to them. |
| Maximum attendance per event | Classes › class › Information tab › Advanced options | Empty | Separate cap for per-event registrations when the price rule is "Price is for one event"; the class Maximum attendance does not apply to them. |
| Ledger code | Classes › class › Information tab | None | Accounting code assigned to the class for reports. |
| Taxes | Classes › class › Information tab | None | Taxes applied to the class price. |
| Tags | Classes › class › Information tab | None | Labels used to find classes and to filter them on forms and websites. |
| Age constraint | Classes › class › Information tab | None | Age limits checked at registration. |
| Track multiple check-ins and check-outs | Classes › class › Information tab | Off | Uses two check-in and check-out pairs for each attendance date. |
| Define a theme for each event | Classes › class › Schedule tab | Hidden (empty themes) | Click Show to add a Theme column to every date row. Themes appear on registration forms, invoices and calendars. |
| Override with custom schedule on invoice | Classes › class › Schedule tab | No | Prints the custom schedule on the invoice instead of the calculated schedule (which includes the themes) and hides the number of occurrences. |
Common questions
How do I show a class subtitle on the registration form? Open the class, and on the Information tab click Advanced options under the name, fill in Subtitle and save. The subtitle then appears under the class name on every registration form that includes the class, unless that form's class question has its own Subtitle in its Display card, which takes precedence. See Subtitle and session themes.
What is the difference between the subtitle and a session theme? The subtitle is one text for the whole class, entered on the Information tab and shown on registration forms and in the Class tabs website section. A theme is a text for one date, entered in the Theme column of the Schedule tab, and it appears next to that date on registration forms, invoices and calendars.
Does the subtitle appear on the calendar or the invoice? No. Calendars show the Name or the Calendar display name, and invoices show the name with the schedule. Only the per-date theme is printed on calendars and invoices.
Can I add or change a theme for a single date without reopening the class? Yes. In the calendar, open the occurrence: when the class uses themes, the theme line has an Edit button for administrators. Themes can only be added from the calendar once the class already has at least one theme; otherwise use the Schedule tab.