Activity Messenger Help Center
Choose the right form
A form collects the information needed for a specific job: registering a child, obtaining consent, receiving a request or collecting feedback. Start with the outcome you want, then choose a form type and add only the questions needed for that outcome.
Choose your starting point
| Your goal | Start with | What to prepare |
|---|---|---|
| Collect information or a request | A regular form | Questions and the people who will review responses |
| Obtain consent | A waiver form: a form with consent and electronic signature blocks | Your waiver text and the signer’s information |
| Collect feedback | A survey | Questions and the results you want to compare |
| Evaluate a participant | An evaluation form | Skills or criteria to assess |
| Grade answers against a passing score | Quiz forms and passing scores | The correct answers and the passing score |
| Register for a scheduled activity | A registration form linked to a class | The class, schedule and registration rules |
| Charge for a registration or purchase | A payment form | Items or classes, prices and payment settings |
| Build a mailing audience | A subscription form | The information and subscription choices to collect |
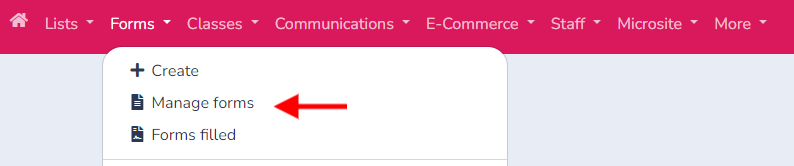
Choose a sample under Forms > Create when one fits your workflow, or create a form from scratch. A payment form adds invoicing and payment to the form; a class defines the activity and schedule. They serve different purposes and can work together.
Understand respondents and participants
The respondent or account owner is the person completing the form. That person may be registering someone else, such as a parent registering a child. Add participant questions when you need the child’s information, rather than treating the parent and child as the same person.
Each submission belongs to the form. The Respondents view lets you review answers and export them. PDF generation, confirmation messages and staff notifications depend on the form’s options; configure these before sharing.
Decide how people will access the form
Forms have their own shareable links. You can send the link, display a QR code or embed the form on your website. Sharing a link does not itself restrict who can submit it. Configure access rules when the form is reserved for existing clients, members or a selected list.
For two languages, use the bilingual form options when enabled for your organization and review the translated questions and confirmation content. Translating your help article does not translate a form you created.
Your next step
Build and share your first form, then manage submitted responses. For a paid workflow, start with payment forms.